
MariaDB, created by the original developers of MySQL, is an open source relational database management system that is a compatible, literal “drop-in” replacement for the widely used MySQL database technology.
MariaDB offers more and better storage engines which are designed to efficiently manage data files, the data, and the index caches. NoSQL support, provided by Cassandra, allows you to run SQL and NoSQL in a single database system. MariaDB also supports various TokuDB versions, to handle big data for large organizations and corporate users.
Implementing MariaDB using Microsoft Azure
Microsoft Azure markets the idea that it makes it easy to set up, operate, and scale MariaDB server deployments in the cloud, so let’s see just how easy!
First, use a web browser to navigate to the Azure portal, enter your credentials and sign into the portal. The default view should be your service dashboard (note, you’ll need a subscription to perform this exercise but if you don’t have an Azure subscription, you can create a free Azure account before you begin.
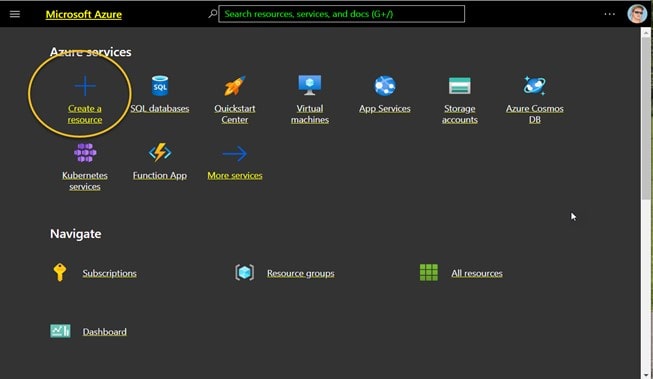
You create an Azure Database for MariaDB server within a set or “group” of “compute and storage” resources that you define and control, so you need to set up those resources first. To do that, you select the Create a resource button (+) in the upper left corner of the portal:
Next, type MariaDB in the search box to find the service:
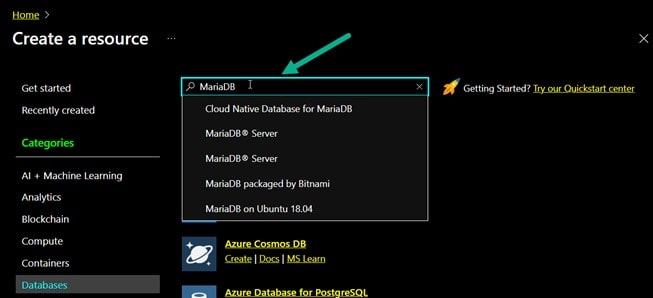
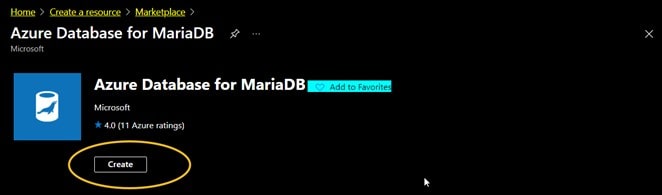
Scroll through the search results until you see “Azure Database for MariaDB” and then click on Create:
Configuring the Azure MariaDB Server
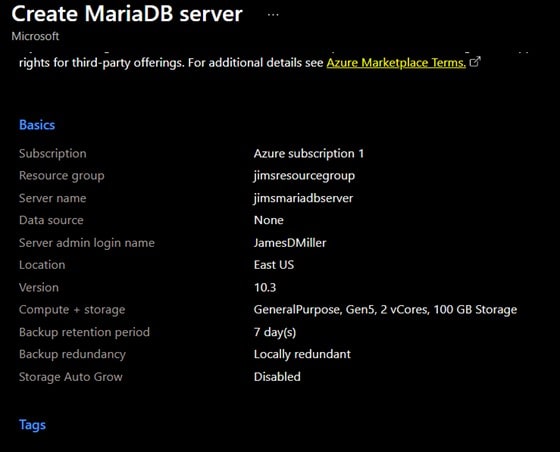
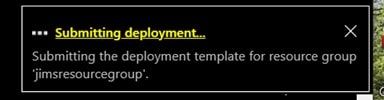
Before the resources can be allocated, you need to define the basic details of the deployment. Specially, the Subscription to be used (for billing), names to use for the Resource group and Server name, a Server admin login name (and password), a Location where the resources will reside (Microsoft recommends that you try to choose a location that is closest to your users or to your other Azure applications you may be using). Most importantly, you also need to select the Compute + storage limitations, Backup retention and redundancy parameters and the Auto Grow value. The portal “steps you through” these selections and then offers an “overview” tab so you can review your choices (shown below). Note that for this exercise, I picked the lowest and most cost effective values:
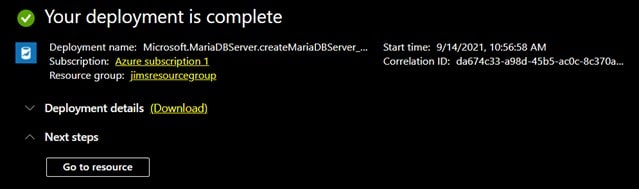
Once you are happy with your choices you can click Review + create to provision the server. Provisioning can take up to 20 minutes (typically less).
Accessing the MariaDB Server
As part of the deployment process, a firewall is created at the server level. This firewall prevents external applications and tools from connecting to the server or to any databases on the server unless a firewall rule is created to open the firewall for specific IP addresses. Once you are informed that your deployment is completed (see below), you can click on Go to resource:
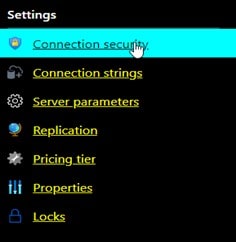
Now, under Settings, click on Connection security:
On the Firewall rules page you can add the IP addresses of those users that will need to access the new database. In this example I just clicked Add current client IP address so that my machine will be the only authorized IP. At any time you can use this page to add or remove IPs.
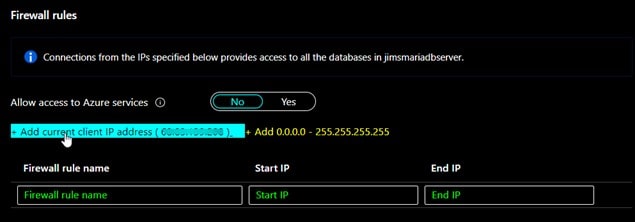
Next click Save.

MySQL Workbench
My favorite way to connect to an Azure MariaDB is though MySQL Workbench. MySQL Workbench is a unified visual tool for database architects, developers, and DBAs proving data modeling, SQL development, and comprehensive administration tools for server configuration, user administration, backup, and much more.
To connect using this tool, you first need to create a new connection by selecting the plus icon (+) next to the MySQL Connections heading.
To create a connection, in the Setup New Connection dialog box, on the Parameters tab, enter the server connection information (Hostname, Username, and Password). You can find the server’s name and sign-in information that you entered earlier on the server Overview page or on the Properties page in the Azure portal. The Connection Method should be Standard (TCP/IP) and the Port can remain 3306. Once you entered your parameters, check that everything is entered and configured correctly by selecting Test Connection. Then, select OK to save the connection.

Trying out MariaDB
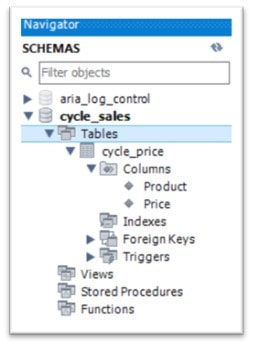
To get stared, you’ll first need to create a schema (or a database name) for your MySQL Workbench session and then set the default schema for the connection. To do that, from the MySQL Workbench home screen, you can right-click on a MySQL connection, choose Edit Connection, and set the desired default schema on the Default Schema box. Once you’ve set a schema (I named mine “cycle_sales”) you can view it in the Navigator pane under SCHEMAS:
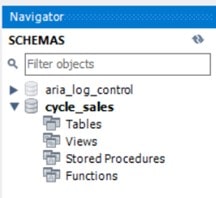
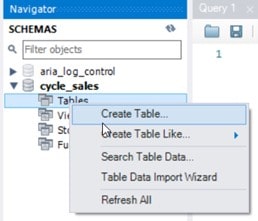
You’ll notice that there are currently no objects in the schema! To create a new table, you can right-click on Tables and select Create Table…
MySQL Workbench then opens a panel where you can “fill in” the information to define a new table, column by column.
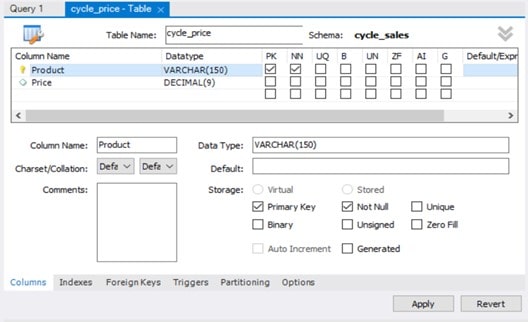
My new table name is “cycle_price” which will have 2 columns “Product” and “Price” which I have defined as shown. Once you are ready, you click Apply. You will be “led” through 2 dialogs; the first is where you can review the generated SQL script that will create the new table. If it is what you expect, click on Apply.
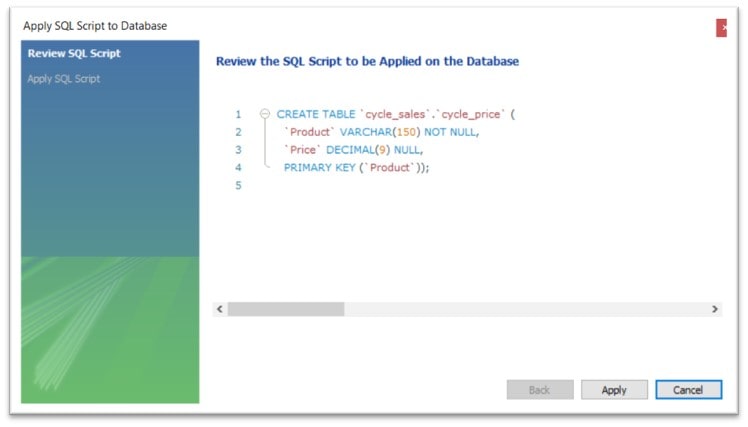
After clicking on Apply, the script runs, and the 2nd dialog shows the results of executing the SQL script.
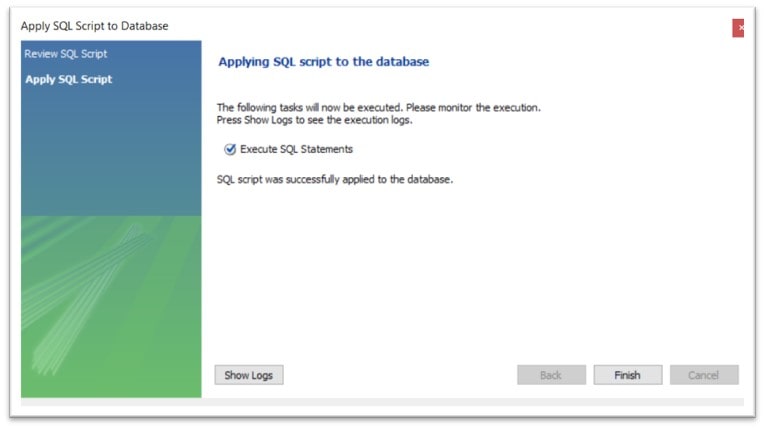
When you click Finish, you can then see that the new table has been created:
Loading Data
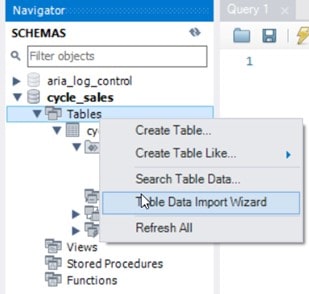
To load some data into our new table, you can again right-click on Tables and then select Table Data Import Wizard:
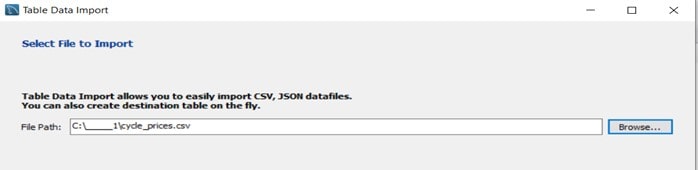
MySQL Workbench will then provide a “wizard” to build and execute a data import. First, we can Browse… to and select a file:
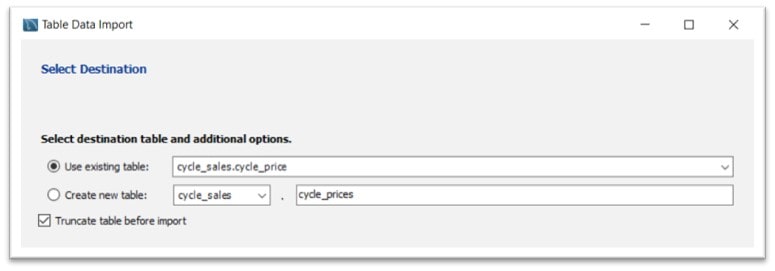
Next, we can set the Destination (to our existing table). Notice I checked Truncate table before import so that if we would run this process again, any existing data in the table would first be cleared:
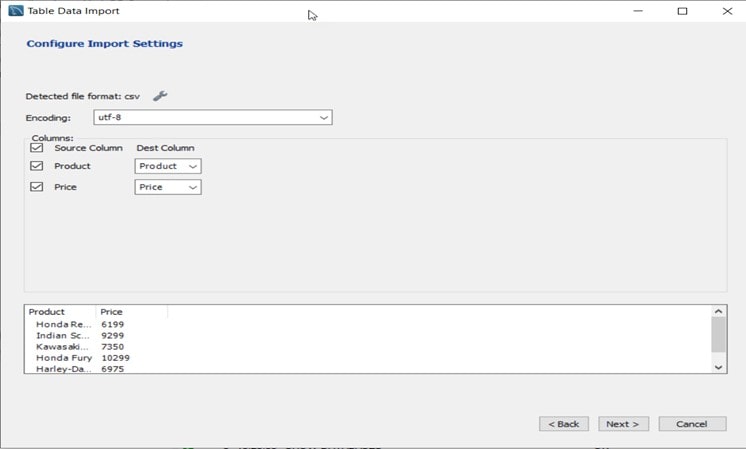
Now we configure the fields to columns:
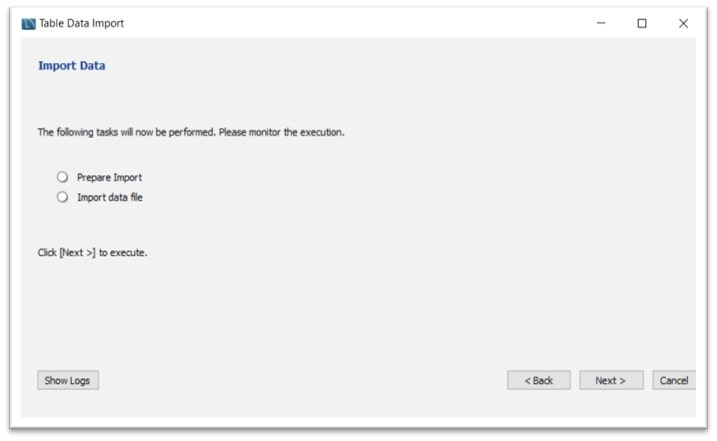
Finally, we can click Next to start the import:
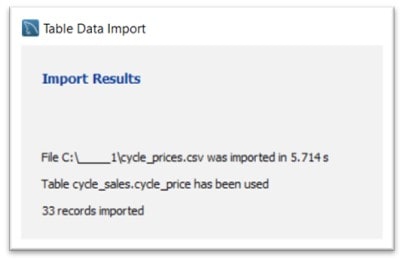
And lastly, the results:
Querying the Results
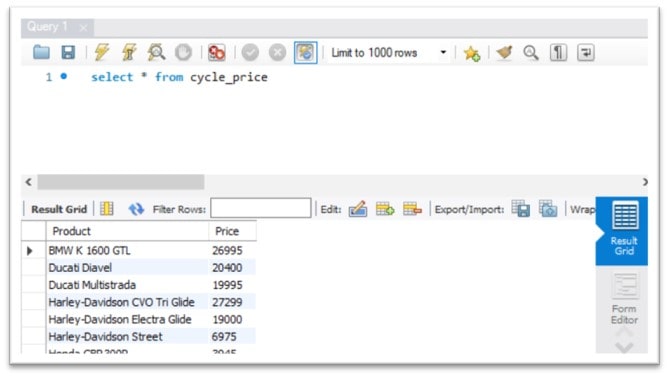
Now we can go ahead and query our new table:
Conclusion
Azure Database for MariaDB is a managed service which you can use to run, manage, and scale highly available MariaDB databases in the cloud. At a glance, this narrative showed how easy it really is to setup an Azure Database for a MariaDB server in the cloud, create a new schema, build a table, and load data to it – all in about five minutes using the Azure portal.
Although we haven’t created what would be considered a production environment (although it could be scaled to meet production requirements), we do have a working environment that we can use for proof of concept development, presales demonstrations or just investigation.
Azure Database for MariaDB delivers:
- Built-in high availability with no additional cost.
- Predictable performance, using inclusive pay-as-you-go pricing.
- Scaling as needed within seconds.
- Secured protection of sensitive data at rest and in motion.
- Automatic backups and point-in-time-restore for up to 35 days.
- Enterprise-grade security and compliance.
The capabilities provided by Azure Database for MariaDB require almost no administration and can help you rapidly develop applications and accelerate your time to market since you don’t have to allocate precious time and resources to managing virtual machines and infrastructure. Definitely worth checking out!