
When using an ETL and modeling tool like Euclid Studio, it’s extremely likely that you’ll want to access your relational databases. The following steps will walk you through configuring a JDBC connection within a Euclid Studio flow.
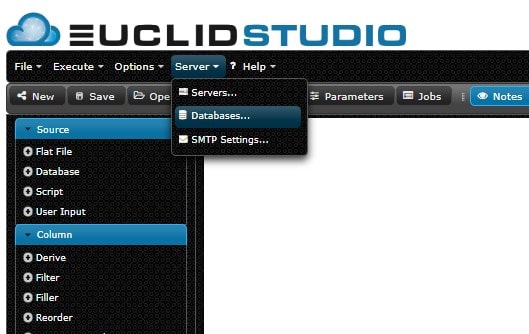
Once you’ve logged into Euclid Studio and created/opened your flow, hover over the ‘Server’ menu at the top and click on the ‘Databases…’ option:
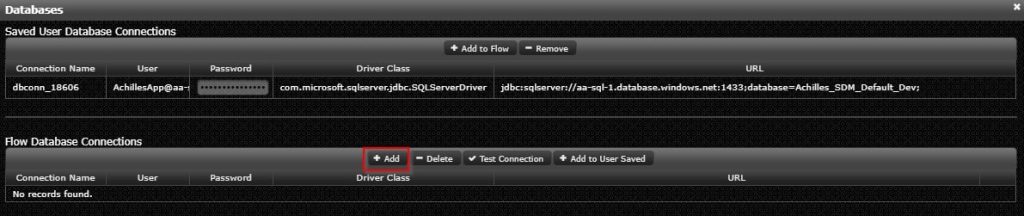
This window will display any connections if they’ve already been configured in the flow or saved to the currently logged in user. To create a new connection, click ‘Add’ under the Flow Database Connections:
You can edit the newly created connection by clicking on the pencil icon on the far right. Once in edit mode, you can fill in the following fields:

- Connection Name – this is what the connection will be referred to in database connected nodes. You can enter any value you’d like.
- User – the SQL username that will login and connect to the database
- Password – the password of the associated username
- Driver Class – dropdown menu of supported databases. Choose whichever applies to the database you are connecting to (SQL Server, Oracle, Firebird, etc.)
- URL – the JDBC connection URL. You can select from the dropdown for an example of the correct syntax, then edit the appropriate parameters. For example, if you’re connecting to SQL Server, the example string is:
jdbc:sqlserver://localhost:1433;databaseName=AdventureWorks;
In this case, you’ll just need to replace ‘localhost’ with the server that the database resides on and replace AdventureWorks with the database that you are connecting to.
Once all of the fields have been filled in, you can click the checkmark on the right to confirm your changes.
To test the connection, click the row to select it (turning it white). Then click ‘Test Connection’ above. If everything is working, you should see a ‘Connection successful!’ message. If there is an error, it will display it.

If this is a connection you will be using across multiple flows, you can click ‘Add to User Saved’. This will copy the connection up to the top section, saving it to the currently logged in user. For any new flows, you can then select the saved connection and click ‘Add to Flow’ to add it to the currently opened flow.

Once a connection has been established, you can select it in any database connected node (Database source, export, or output):
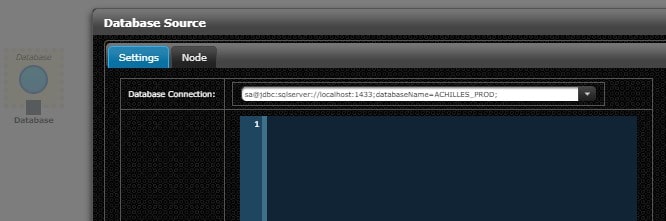
If multiple connections exist in a single flow, you can choose between them using the dropdown in each node.