
The Azure App Service is a Platform as a Service (or PaaS) offering from Microsoft. It’s a component that provides resources for deploying web applications and for making deployed web applications accessible by HTTP clients. You can use it to host web applications, REST API’s and backend services for mobile applications in almost any programming language or framework you want. You can also deploy in both MS Windows and Linux-based environments.
A Test Drive
To get a feel for how this works we can create and then update a simple web app with just a few Azure CLI commands. I’ve used Azure CLI in other posts and found it to be easily accessible, well documented, and straight-forward to use. In this post, I used only 4 Azure CLI commands (well, and 2 keyboard commands) to accomplish the following:
- Create an Azure Resource Group.
- Create an Azure App Service Plan.
- Create an Azure Web App.
- Deploy files from the working directory to the Azure Web App.
Step-by-Step
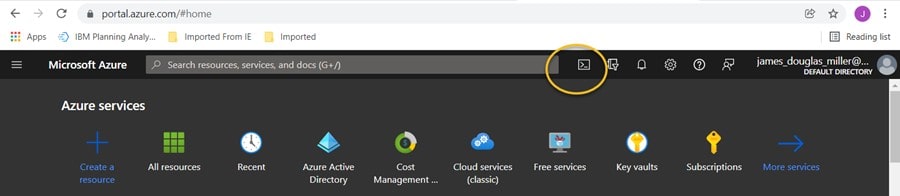
The first step is to login to the Azure portal and open the Cloud Shell:
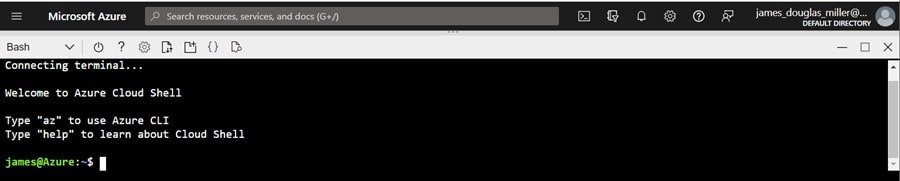
After the shell opens, select the Bash environment.
Now, you create a directory named “htmlapp” (using the mkdir command) and then navigate to it (with the cd command):
Next, you run the following git command to clone a sample (basic) HTML+CSS web app repository to our new htmlapp directory:
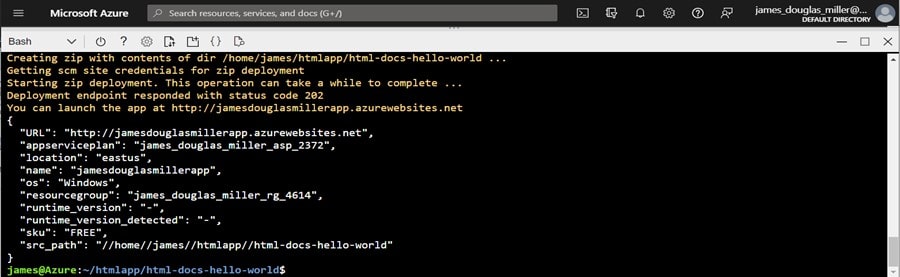
Once that is done, you can change to the directory that contains the sample app code and run the az webapp up command, providing a Azure Web App name (I used jamesdouglasmillerapp) and n Azure region (I used eastus).
cd html-docs-hello-world
az webapp up –location eastus –name jamesdouglasmillerapp –html
This takes several minutes to run and displays various status messages and when it completes it gives the following feedback:
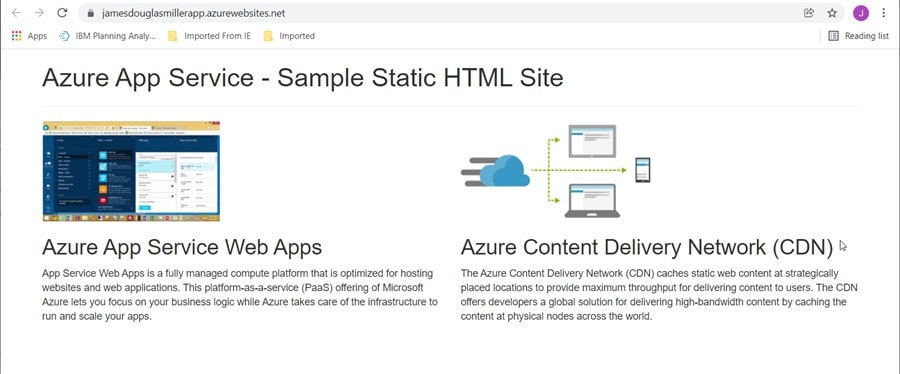
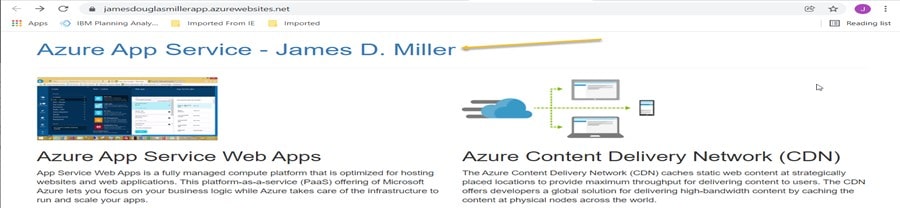
Now if you open a web browser and navigate to the App’s URL (http://jamesdouglasmillerapp.azurewebsites.net) you can see that the app is running since we see the static HTML generated below:
Making Some Changes
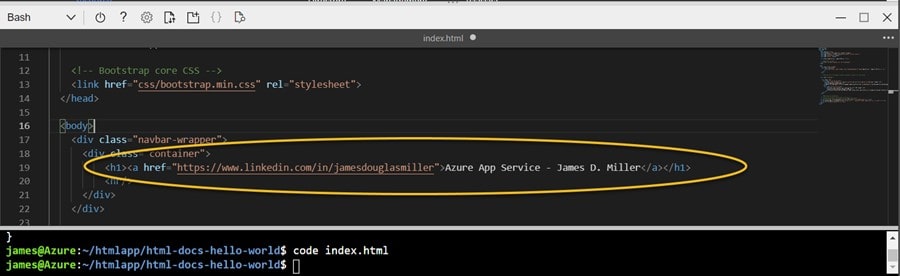
If you go back to the Azure Cloud Shell and type code index.html, The code editor will open with the source HTML code of the sample app displayed. I changed the HTML <h1> heading tag a bit and also added an HTML href link (to my LinkedIn profile):
Once I completed those code changes I used the keyboard commands ctrl-s to save and ctrl-q to close the editor and then redeployed my app (using the same az webapp up command as I did earlier). Below is the output generated from updating my app:
Once the redeployment of my updated HTML Web app completed, I switched back to my web browser and refreshed the page and I can see my changed heading line as well as that href link:
Finally, if I click on that link, I am redirected to my LinkedIn profile!

“…Each soul is a star, and all stars are set in the infinite Azure, the eternal sky-the Lord…” (Swami Vivekananda).