ODBC, or Open Database Connectivity, is a standardized way for outside programs to connect to database management systems. In this article, we will show you how to set up an ODBC data source connection to a Microsoft SQL Server instance on Windows.
Opening the Program
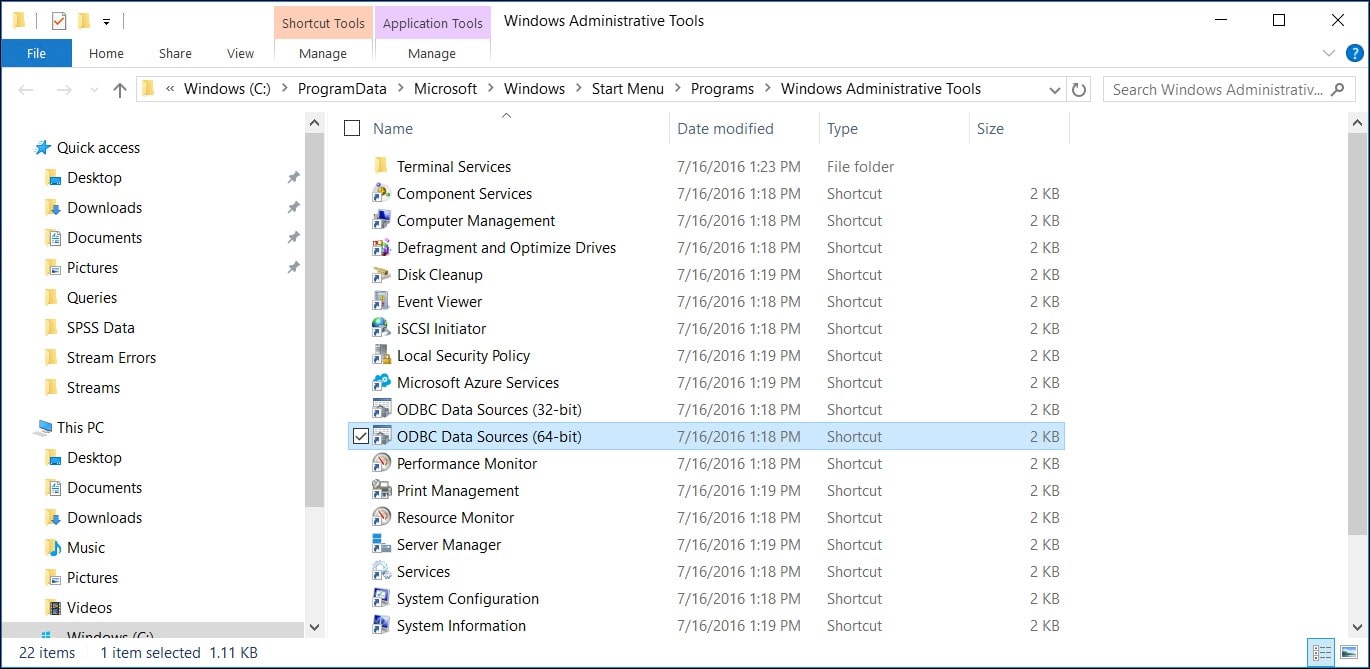
The first step is to find and open the ODBC Data Sources program in Windows. This can be found in the Control Panel under Administrative Tools or under C:ProgramDataMicrosoftWindowsStart MenuProgramsAdministrative Tools. In the screenshot below, you’ll notice that two versions of the program exist, one for 32-bit and one for 64-bit. The choice of program you’ll want to use is the one that matches the application you’re trying to connect to the database. For example, if you have a 32-bit version of excel, you’ll want to use the 32-bit ODBC Data Source.
Selecting a DSN Type
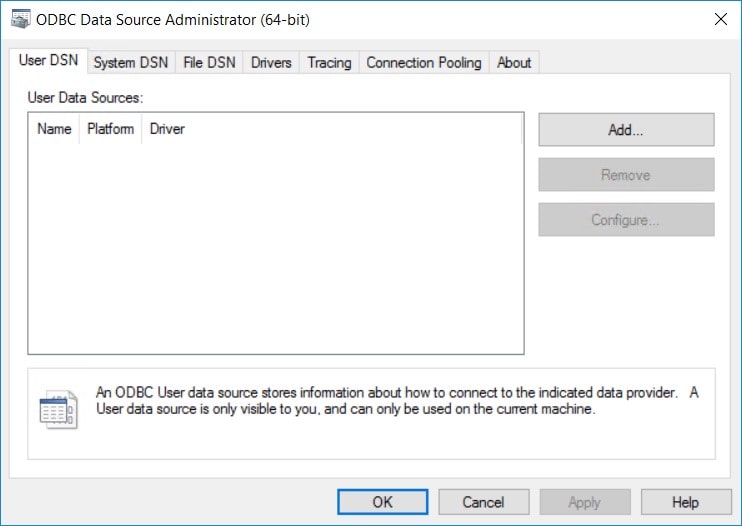
After opening the program, you will see a few tabs with the name DSN (Data Source Name):
User DSN: An ODBC data source for the specific windows user account. Other users will not be able to see the connection.
System DSN: An ODBC data source that is system-wide and can be leveraged by any user with the proper rights.
File DSN: An ODBC data source that is set up using files with a .DSN file extension.
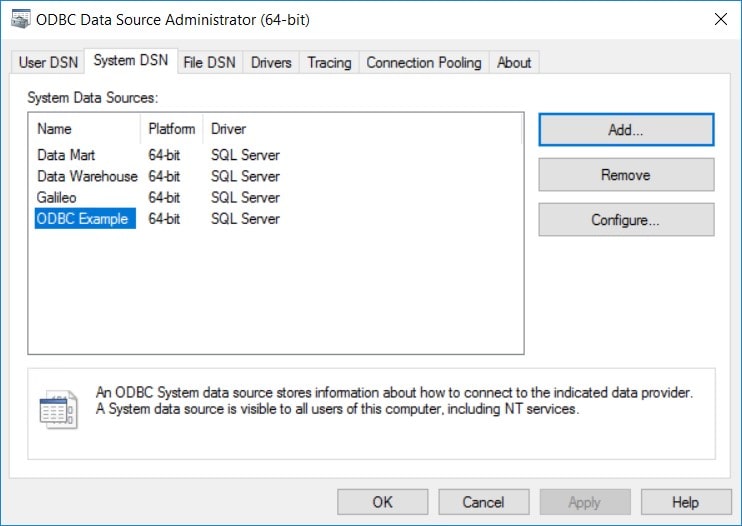
In this example, we will focus on setting up a new System DSN. To do this, click on the System DSN tab and then click on the Add button.
Choosing a Driver
After clicking the Add button, you will be prompted to pick a driver to set up your data source. Drivers allow the system to translate SQL and database functions from the application you are using to the database management system you are trying to connect to. If you do not see the driver you are looking for, don’t fret, while the drivers for each database don’t come pre-installed on your system, they can often be downloaded from the website associated with each database for free. In this case, we will be using the SQL Server driver to connect to our Microsoft SQL Server instance. Click “Finish” to begin setting up the connection.
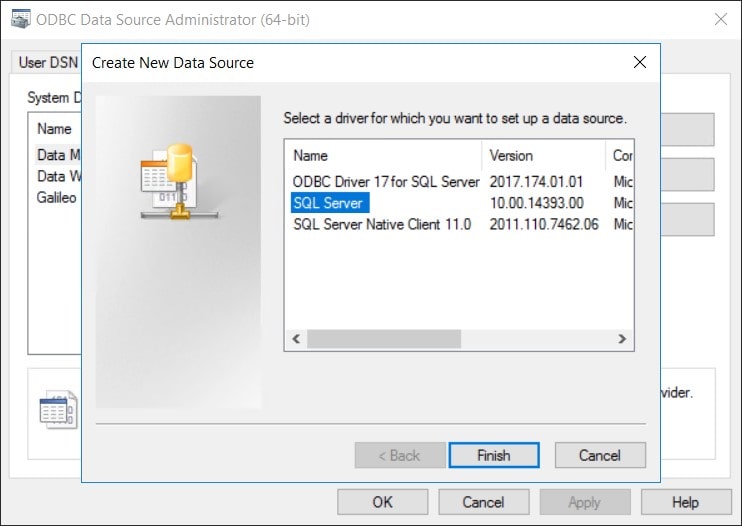
Note: Depending on the driver chosen, the next steps may look different, but will require similar information.
Configuring the Connection
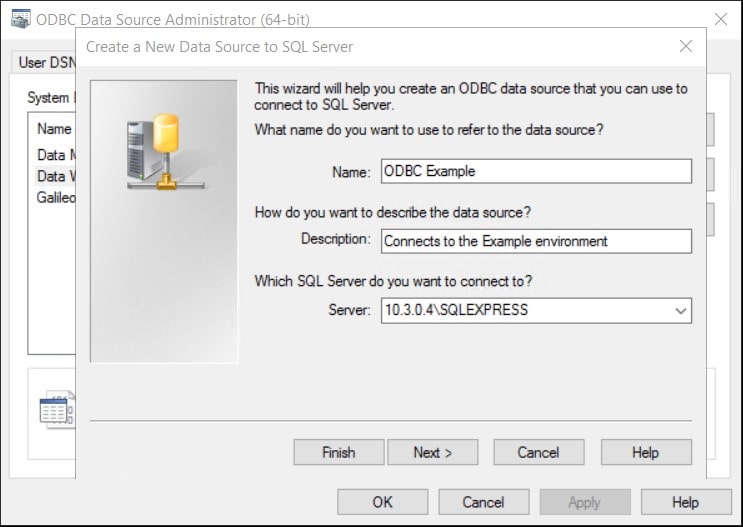
On this screen, you’ll first want to give your new DSN a meaningful name, this will be the name you use to reference the connection in your applications. There is also space to put a description of the driver, which can be used to add more details about the connection. Lastly, you’ll enter the address of the SQL server you are trying to connect to. In this case, it’s the SQLEXPRESS SQL Server instance that’s located on the Windows server with IP address 10.3.0.4. Click “Next” to continue.
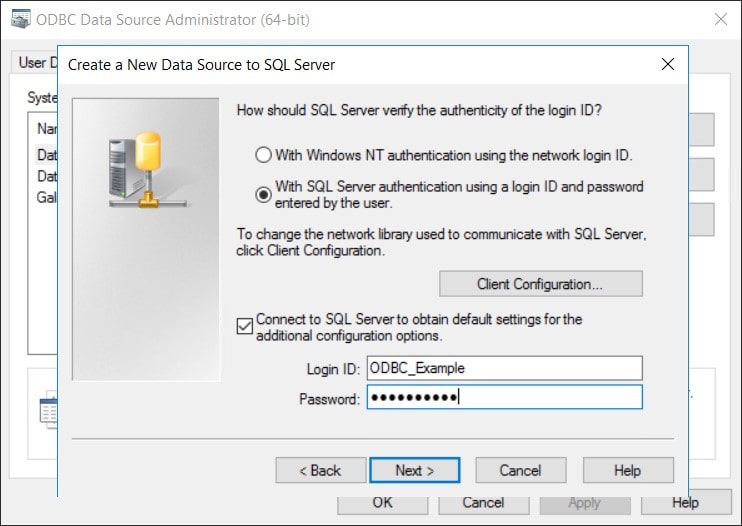
The next step involves setting up the way the ODBC will authenticate your connection to the SQL Server. For Microsoft SQL Server, you can choose to use Windows authentication or the user authentication native to Microsoft SQL Server. If you’ve chosen SQL Server authentication, which has been selected in the screenshot below, it will want you to enter a specific login here. This will not be the only login you can use to connect to the server with the ODBC connection, but it will be used to test the connection and to automatically obtain some default settings for the remainder of the ODBC configuration, if the box is checked. You’ll also notice the Client Configuration button, the functionality of this is described in the next section. Once everything is set, click “Next” to continue.
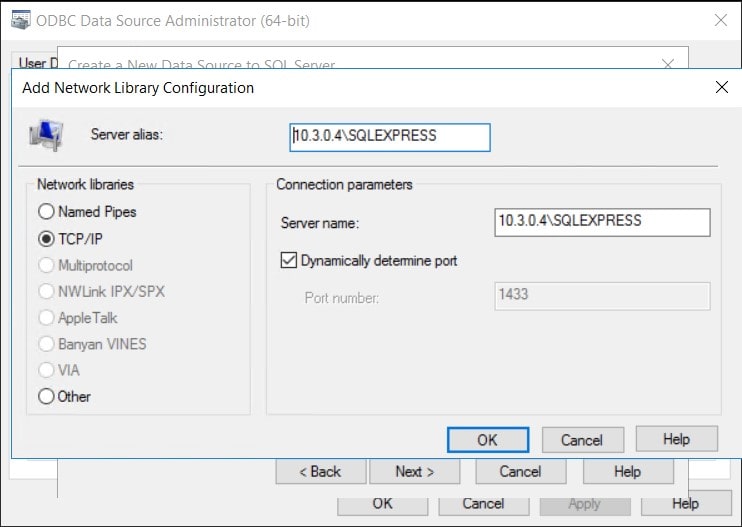
By clicking on Client Configuration in the authentication section, you will be brought to the screen below. This screen allows you to choose an alias for your server, as well as the port number and communication library being used.
After you finish setting up authentication for your connection, you will land on this screen. Your first option here is to change the default database for the connection to the SQL server. This determines which group of tables the system will try to query when you don’t reference the database schema in your query. If there is a specific database on the SQL Server your application will be leveraging, you’ll want to pick it as your default. The second option allows you to attach a detached database to the database you’ll be connecting to, but this is not always best practice to use. In addition to those options, the first two radio buttons allow you to choose whether the connection adheres to ANSI conventions and the third option will allow a mirror SQL Server to be used as a failover. Click “Next” to continue.

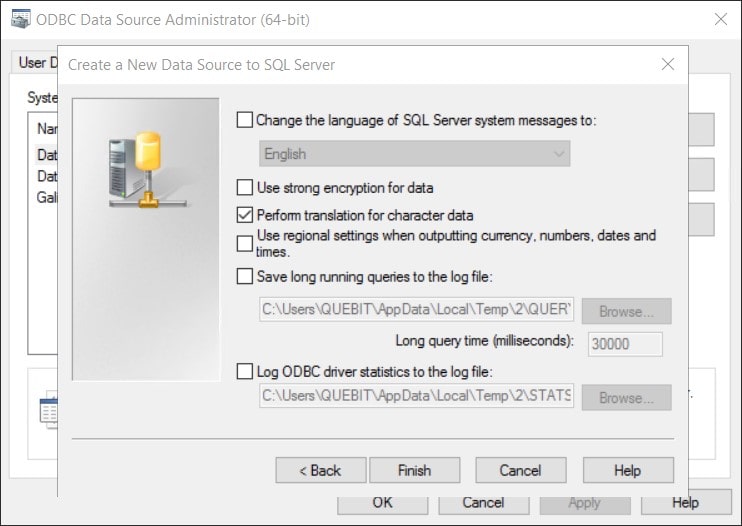
Lastly, you’ll want to pick some final options for the connection. Here you can choose language, translation, data encryption, and logging options. Strong encryption is highly suggested if you are connecting from outside a safe network. After you have selected the options you want, you can click “Finish”.
Testing 1, 2, 3
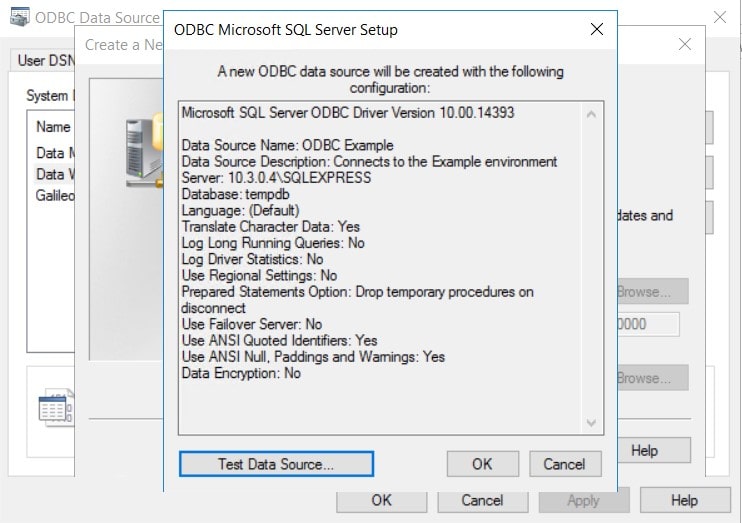
Once you click finish, you will be shown a prompt with the information that you have filled in regarding the database connection. If anything looks wrong, you can click cancel and change your selections. Otherwise, it is suggested that you try “Test Data Source…”. This will attempt to connect to the database using the login you had provided earlier.
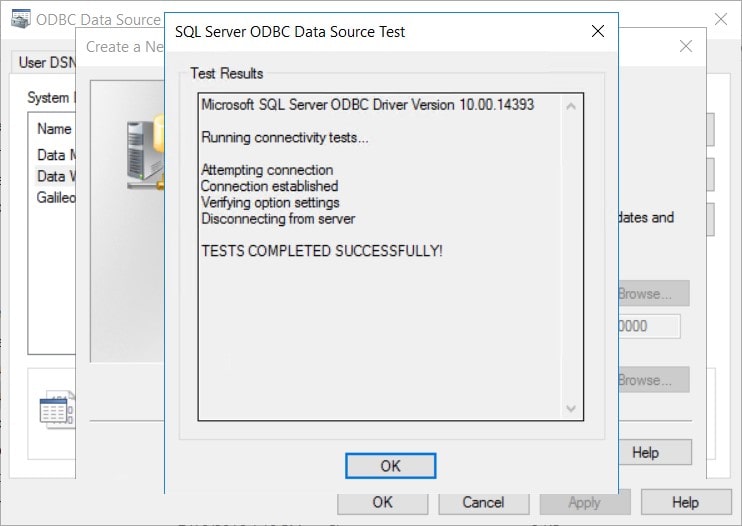
After clicking the Test Data Source button and seeing “TESTS COMPLETED SUCCESSFULLY”, congratulations, you have successfully set up an ODBC Data Source connection!
The new ODBC connection, now be seen among the other connections: