Inserting Spacer Rows and Columns in an Exploration View
With the release of Planning Analytics Workspace version 2.0.90 the ability to add spacer rows and columns has been added. This feature is useful for customizing the presentation of views within books by separating data presentation and improving readability. As of writing, spacer rows and columns currently cannot be formatted just as the other rows, columns, and cells in the exploration view.
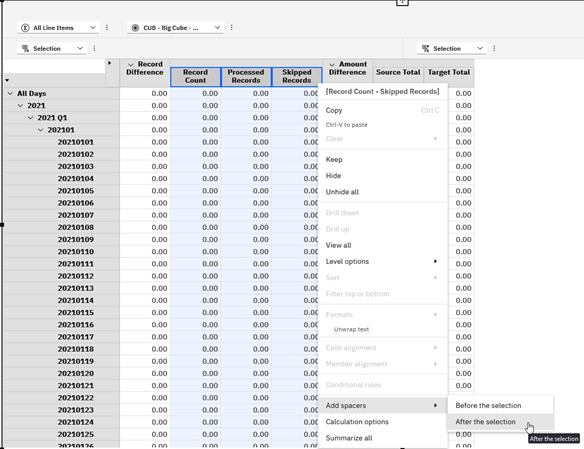
Adding Spacers
To insert a spacer, select a row or column within the exploration view and then right click on the header to open a menu. Select the “Add Spacers” option, then select the “Before Selection” or “After Selection” option based on where the spacer should be created. Multiple rows or columns can be selected to add multiple spacers simultaneously.
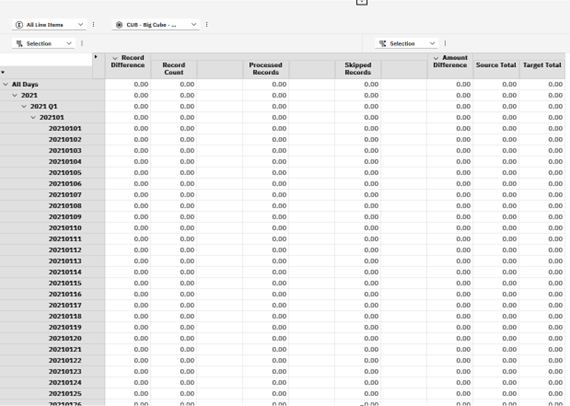
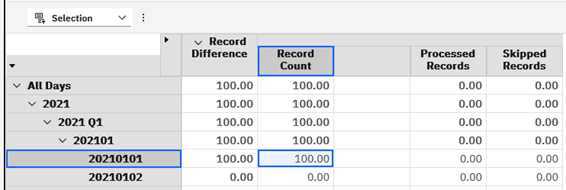
Note that spacer rows and columns can cause spreading options that would include spacer cells to not function as intended. In the example below, the spread functions correctly in the first set of images, but stops before the added spacer column instead in the second example.
Without Spacer:
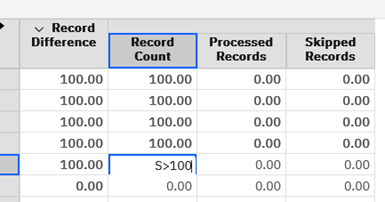
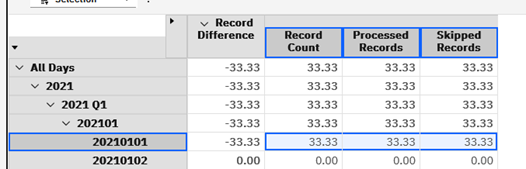
With Spacer:

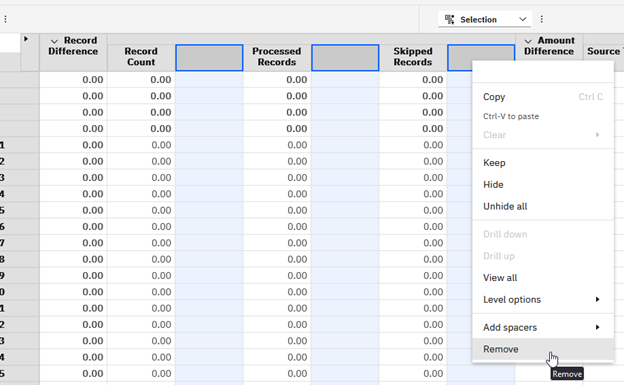
Removing Spacers
To remove a spacer row or column right click on the header cell of the spacer and then select the “Remove” option. Multiple spacers can be selected to remove them simultaneously.