
In another post I explored how easy it is to access cloud-based Snowflake, create a database, define and then load a table with data from a local file. In this post, I investigate the steps required to integrate some Snowflake data with IBM Planning Analytics (TM1). The steps will include:
- Configure an ODBC Data source on an MS Windows machine
- Launching Planning Analytics Workspace on a client machine
- Using Planning Analytics Workspace to create a TurboIntegrator process that accesses Snowflake data
An ETL Integration Approach
TurboIntegrator is the “extract, transform and load” (or “ETL”) tool provided by IBM Planning Analytics. TurboIntegrator allows you to create simple or complex processes to extract data from a data source – either a cube view or external system – transform it as needed and then load or otherwise use that data to update existing or newly created objects within a TM1/Planning Analytics model.
The steps for building a process to use a TM1 view as a data source are similar to those used to define and use any other data source, except that you first build a view of data that is specifically designed for import. The steps to create a process that executes a SQL command to query a database (or execute other SQL tasks) are the same but require setting up an Open Database Connectivity Data source Name (or ODBC DSN) configured to access the external data.
Creating the ODBC DSN
Assuming we will use the database and the specific table I created in my last post (millers_motorcycles_db and motorcycle_sales), the first step is to install the ODBC drivers required to create an ODBC DSN that can access Snowflake data. There are many, but the CDATA Snowflake ODBC Driver is one that is easy to install and configure and allows you to connect with a live Snowflake data warehouse, directly from any application (that supports ODBC connectivity). Using these drivers, you can access Snowflake like you would any other database to read, write, and update through a standard ODBC Driver interface.
Once you’ve downloaded and installed the CDATA drivers (I’ve used version 22.0), you must create the actual DSN on the machine where the application (in this case IBM Planning Analytics) resides. Microsoft offers details on creating and configuring ODBC DSN’s here but here is a quick overview:
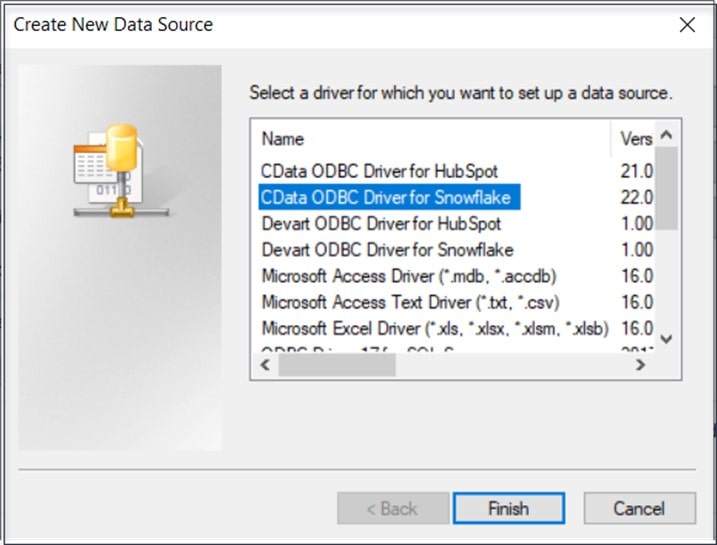
On the machine where Planning Analytics is running, open the ODBC Data Source Administrator and click on the System DSN tab. Click on Add, select “CData ODBC Driver for Snowflake” then click Finish.
At this point the “CData ODBC Driver for Snowflake – DSN Configuration” dialog will appear where you can enter the required parameters:
- Data Source Name – provide a friendly name for the data source
- Warehouse – this is the name of the Snowflake virtual warehouse
- URL – this is the URL that you use to access the Snowflake account where your data resides
- Auth Scheme – for this exercise, choose “Password”
- User – The user ID that will be used to log into the database
- Password – the password that will be used to log into the database
- Account – the Snowflake account where your data resides
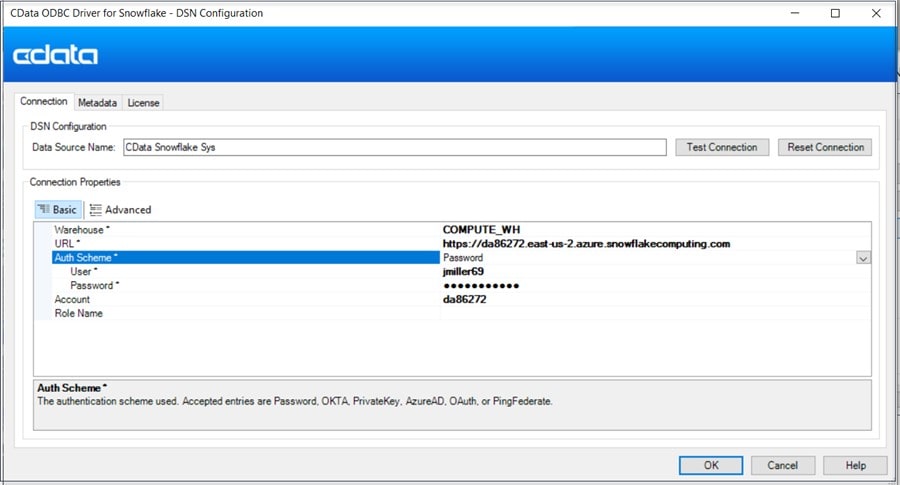
After you enter the parameters, click on Test Connection to validate that the connection works:
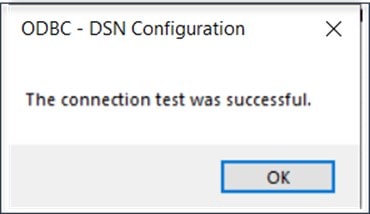
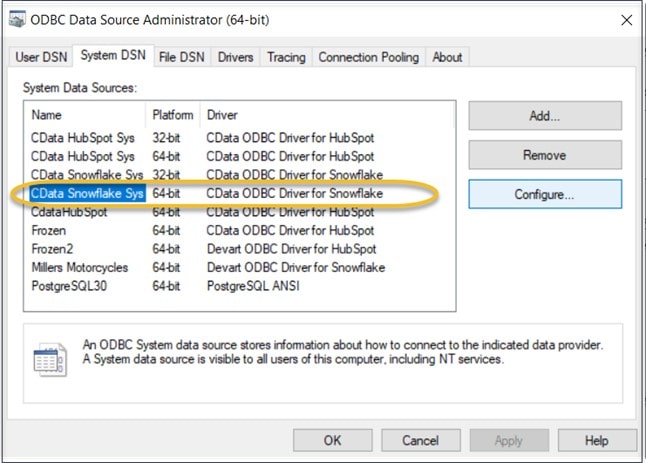
Assuming you received the above message, click OK and you should see your new System Data Source (DSN) in the list:
Creating a Process
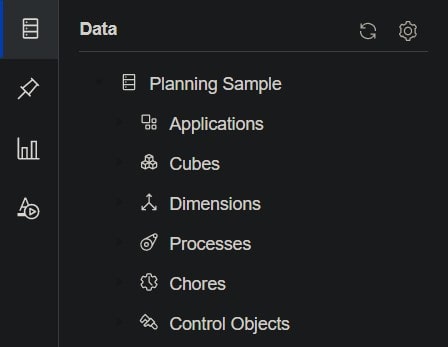
Now that we have a working ODBC DSN setup, we want to create a TurboIntegrator process to “pull” data from Snowflake into Planning Analytics, so after logging in to Planning Analytics Workspace (PAW) (I’m using PAW version 2.0.76) you can create a new TurboIntegrator process using the process editor. To do that, start by expanding the Planning Sample database under Data:
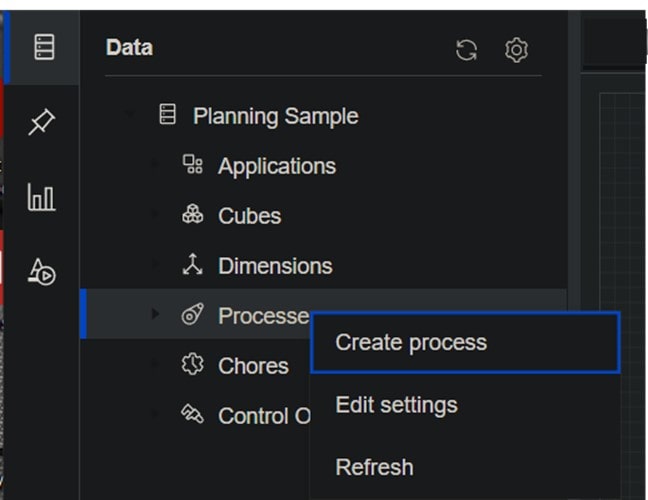
Next, right-click the Processes group and click Create process.
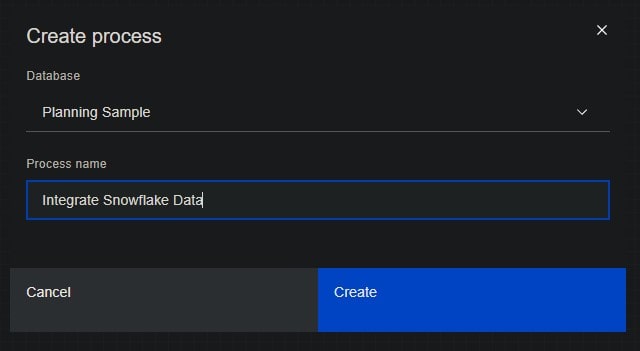
On the Create process dialog, enter a name for the new process (I used “Integrate Snowflake Data”) and click Create.
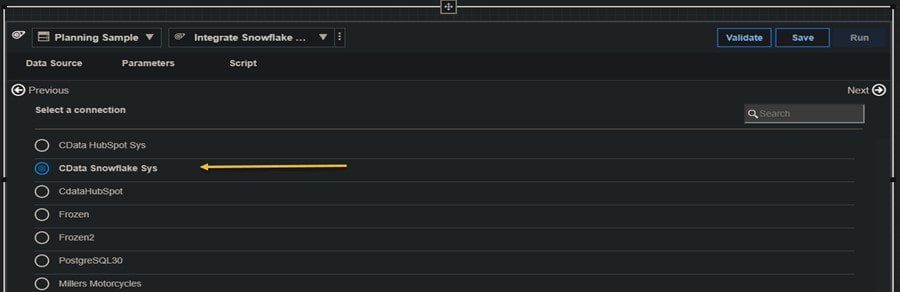
Planning Analytics Workspace then presents the below view where you can select DB Connection as the data source for the process:

Next, select “CData Snowflake Sys” from the list of available connections:
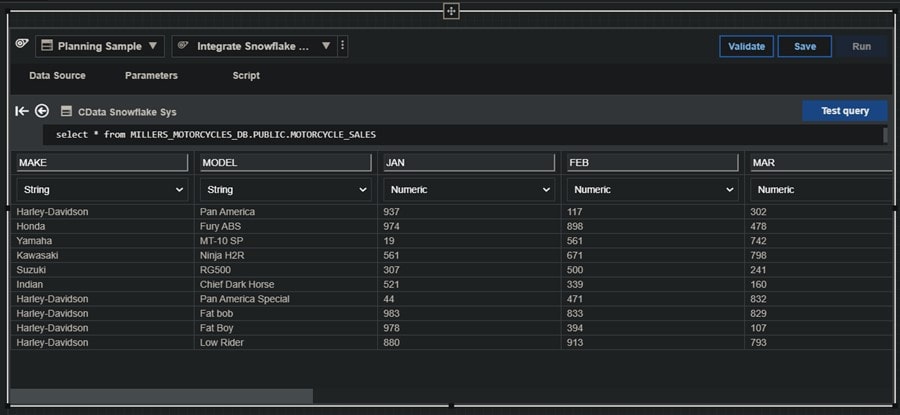
The next step is to enter a SQL query to pull back the Snowflake data:
select * from MILLERS_MOTORCYCLES_DB.PUBLIC.MOTORCYCLE_SALES
and click the Test Query button. The query should run and retrieve data:
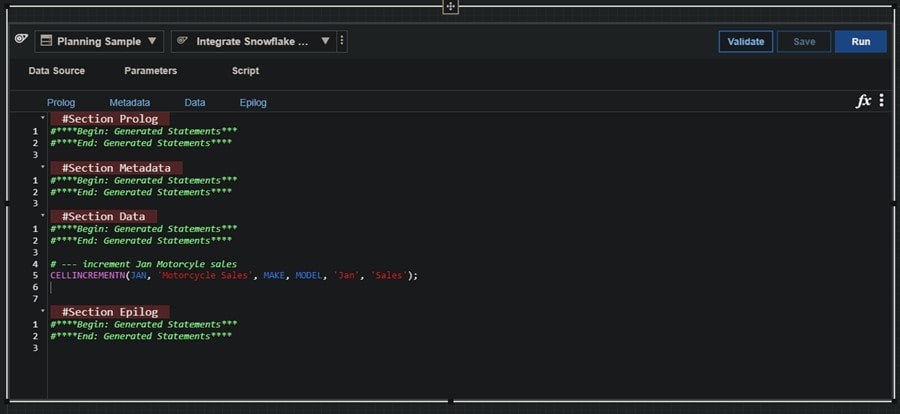
Okay! Things seem to be working as expected, so now we can click on Script and add a CELLINCREMENTN statement under the #Section Data area and then click Validate and finally Save in the upper right:
Once the process validates successfully, you can click the Run button to actually run the process which will execute the query and update the target cube (assuming we’ve already created the “Motorcycle Sales” cube):

If you’ve read the definition of the CELLINCREMENTN function, you know that it increments the data in the intersection point (rather than replace it) therefore, rerunning this process will “double up” the value in the cell. If this were a “production ready” process, we would need to add additional script to clear or “zero out” the appropriate intersection points in the target cube. Since this is just a “proof of concept” we will just leave the process as it is and move on and verify that the data did indeed load.
Accessing the Data
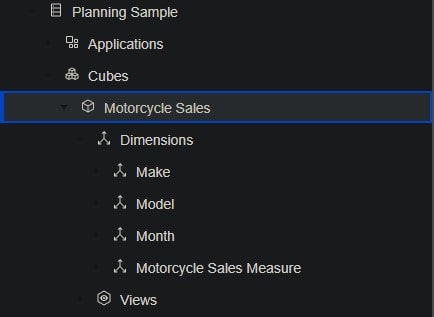
Creating a cube in Planning Analytics Workspace is just as easy as creating a process so I won’t cover that here in this post, but you can read about how that works here. For now, we will assume that the Motorcycle Sales cube has already been created:
Adding a View to a PAW Book
In Planning Analytics Workspace, you can create a view of a cube and then add it to a “book” to view an analyze specific data. You can also save a view as a separate Planning Analytics Workspace object with a name, so it can be opened from the Welcome page. Views can be shared with others and reused as needed. In this case, I just want to create a book and add a view of the Motorcycle Sales cube so that we can verify that our Snowflake data did indeed get loaded.
Since we had already opened a book as part of our process creation, we can just click on the ”+” sign next to “Tab 1”:
![]()
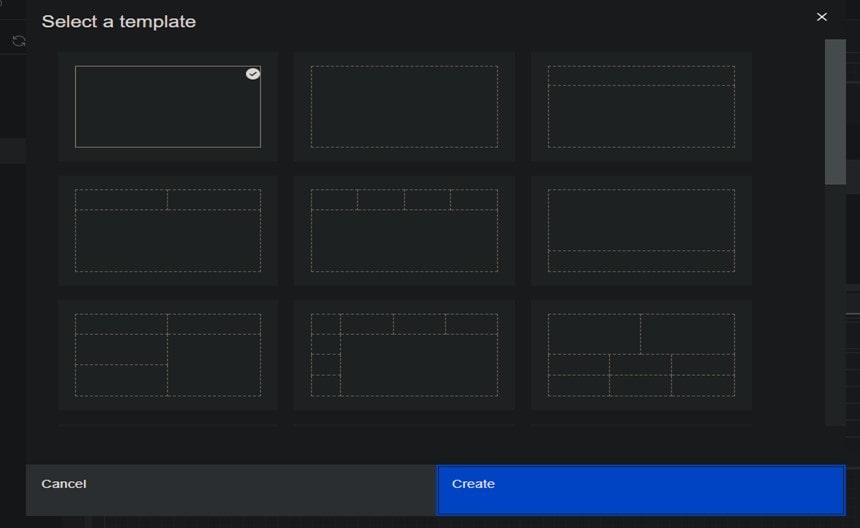
The next step is to Select a template (we’ll choose the default which is already highlighted) and click Create:
Back under Data, we can find the Motorcycle Sales cube and expand the Views group beneath it. There currently is only one view (“default”) so we right-click it and select Add View:
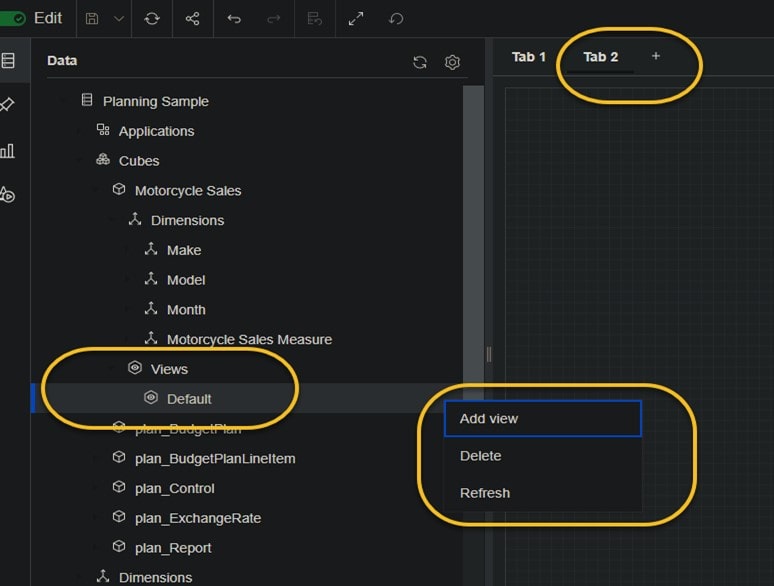
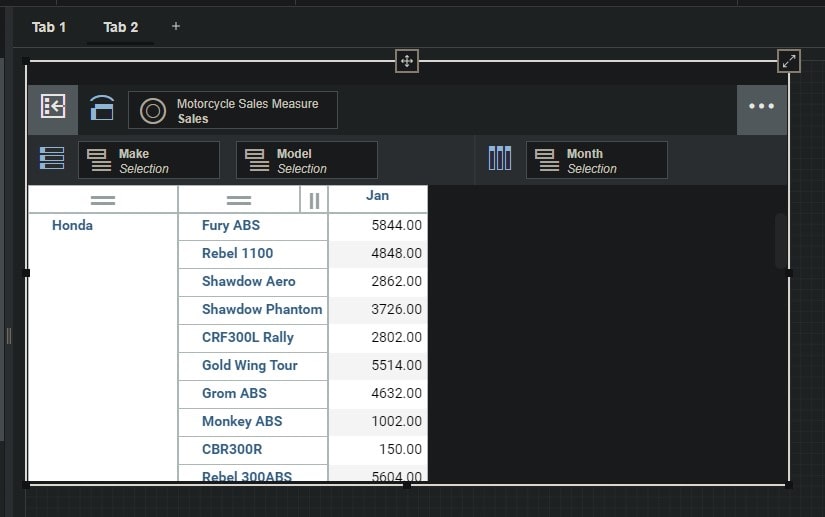
The default view is now added to our book under “Tab 2” and we can see that the Snowflake data has been loaded!
Interested in Learning More?
Are you interested in learning more about integrating Snowflake data with Planning Analytics? Then Contact QueBIT today and a technical expert we’ll be happy to help. Like this post? Feel free to connect with me on: LinkedIn.