
Did you know that you can override the standard Planning Analytics Workspace (PAW) theme with your own “custom theme” that reflects your corporate branding or culture?
You can use a custom theme to:
- Modify the colors of the application bar
- Modify the colors of the navigation bar
- Set the corporate title that is shown on the home page
- Specify an image to display on the home page
Creating a Theme
Themes are defined in a standard .zip archive file that contains a spec.json file and an images folder:

The spec.json file contains the branding instructions for the theme (the color definitions and image paths) and the images folder contains the images that you want to display in the theme. The total size of the .zip archive cannot exceed 32 MB (inclusive of any image files) the .zip archive name cannot include underscores ( _ ) and your image file names cannot contain spaces.
JSON
In case you wondered, JSON stands for JavaScript Object Notation and is a lightweight data-interchange format that is plain text written in JavaScript object notation. Don’t worry, you can use any text editor to create and make simple changes to a JSON file and you don’t have to be an expert on JSON.
SVG Images
A Scalable Vector Graphic (SVG) is a unique type of image format. Unlike other varieties, SVGs don’t rely on unique pixels to make up the images you see. Instead, they use ‘vector’ data. An easy way to work with SVG files is by downloading the free editor “inkscape”). If you are a graphic artist, you can create some pretty cool SVG images, but if not, you can also resort to some simple PNG images.
Adding a Theme
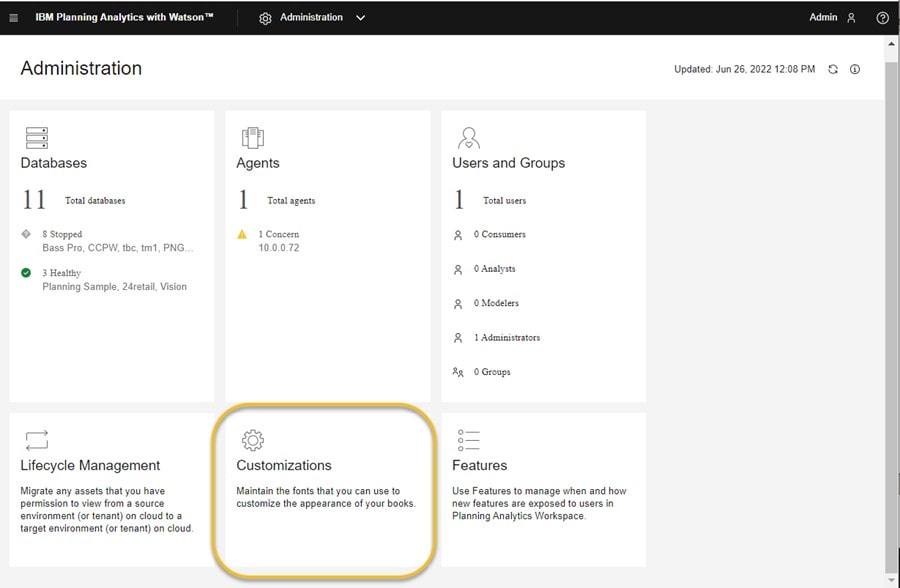
To add a custom theme to your PAW environment, you need to be an Administrator and go to the Administration panel, then click Customizations:
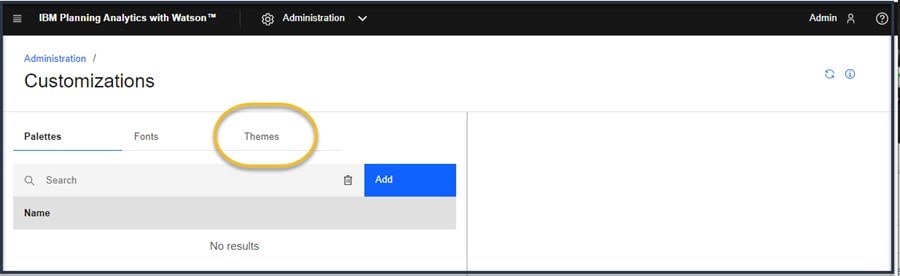
Under Customizations, you should see a Themes tab (as shown below). If you do not have a Themes tab, then you need to upgrade the version of PAW.
On the Themes tab, click Add and then drag your custom theme .zip archive file onto the Add theme box (or you can click the link to navigate to wherever you saved your .zip archive file.). This makes your custom theme available to PAW and should be listed on the Themes tab. As a last step, you need to activate the theme so that you can see your customizations in Planning Analytics Workspace. To activate your theme, simply select it from the list and click Activate.
Let’s Build a Custom Theme
So now let’s build a custom theme for my side-hustle business “Millers Motorcycles!” First, I create a folder named “millers-motorcycles-theme”. Within this folder I will create an images folder and add the required JSON file:

I used Notepad++ to create my JSON file. It looks like this:
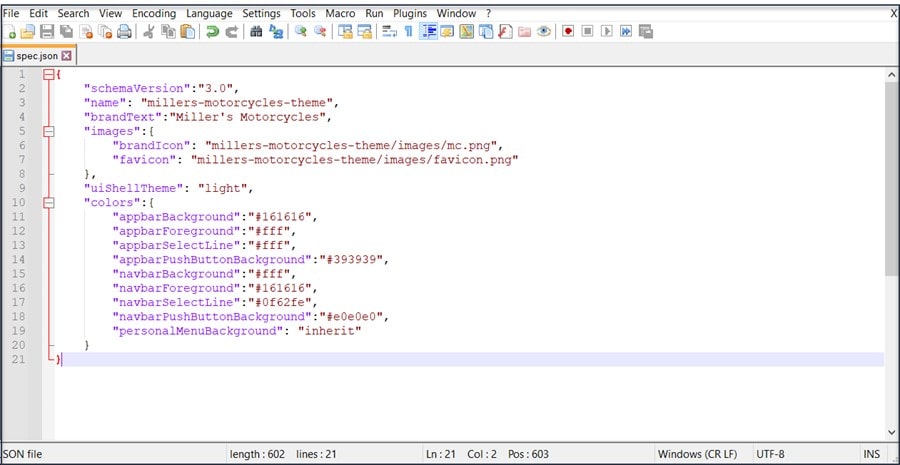
You can see that I’ve modified the name, brandText as well as the brandIcon values (learn more about the other values in the file here). Next, I added a logo for my motorcycle company, named “mc.png” to the images folder:

The new theme is almost ready to upload, but first I need to create an archive (zip) version of the folder:

Finally, I can use the procedure I outlined earlier to add my theme (clicking on the Themes tab I see the Add theme dialog which I can use to find my archived theme file, select it and add it as an option in my PAW environment):
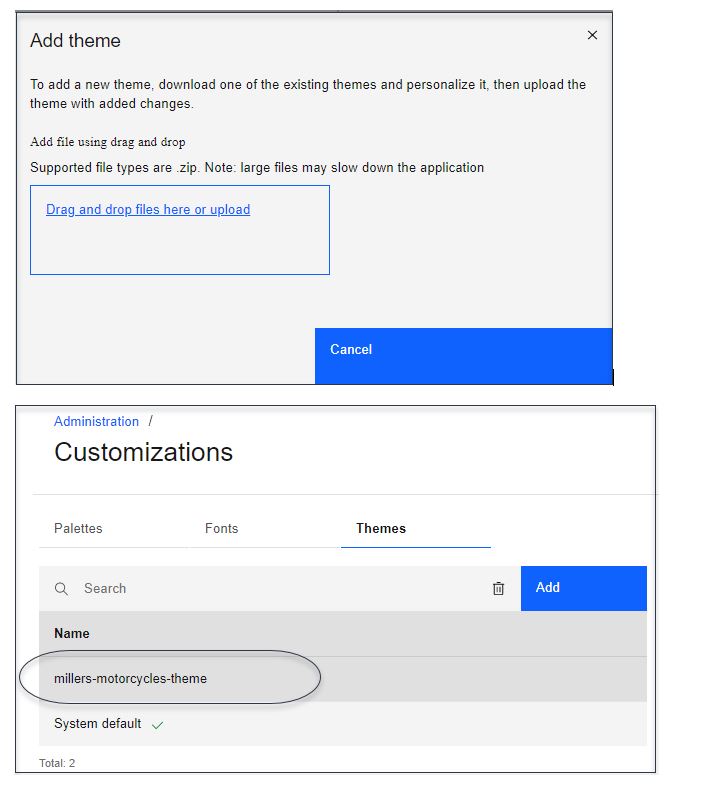
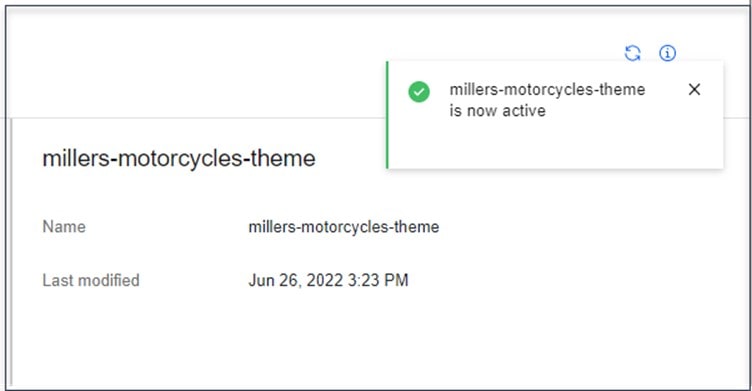
Now that my custom theme is available in PAW, I can select it and click Activate:
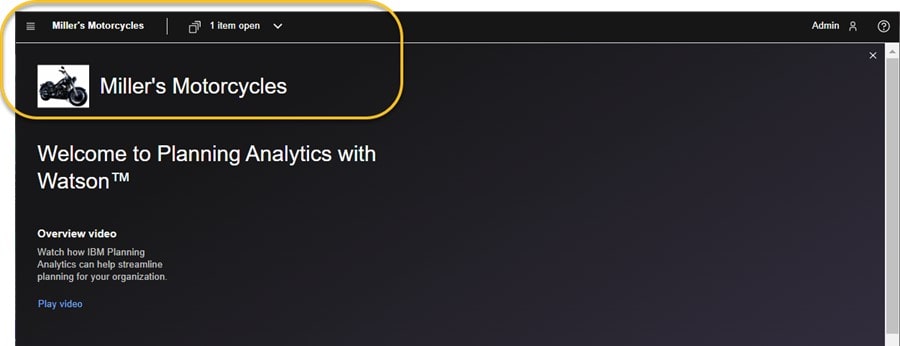
Nothing left to do now but check it out. If I refresh the page, I see that Miller’s Motorcycles is open for business!
Interested in Learning More?
Custom PAW themes are easy and can go a long way towards creating a culture or promoting a brand. If you are interested in finding out more about how to create and use custom themes within you PAW environment, please Contact QueBIT today and we’ll be happy to provide assistance!