
IBM has adopted an AGILE development cycle and is releasing new versions of PAW Local approximately every 4-6 weeks. These PAW upgrades have been thoroughly tested and already released to IBM PA Cloud customers four weeks before they are made available for download, so there’s very minimal concern of any software issues arising. With these AGILE releases, it is advantageous for Planning Analytics customers to perform these incremental upgrades using in house members of the team. This provides cost savings and alleviates having to schedule outside support services on a regular basis.
Use the following steps to upgrade PAW Local from a previous version. Note that old PAW versions should be removed after upgrading if storage space is of concern on the Linux machine; each version can tie up 10-15GB of storage.
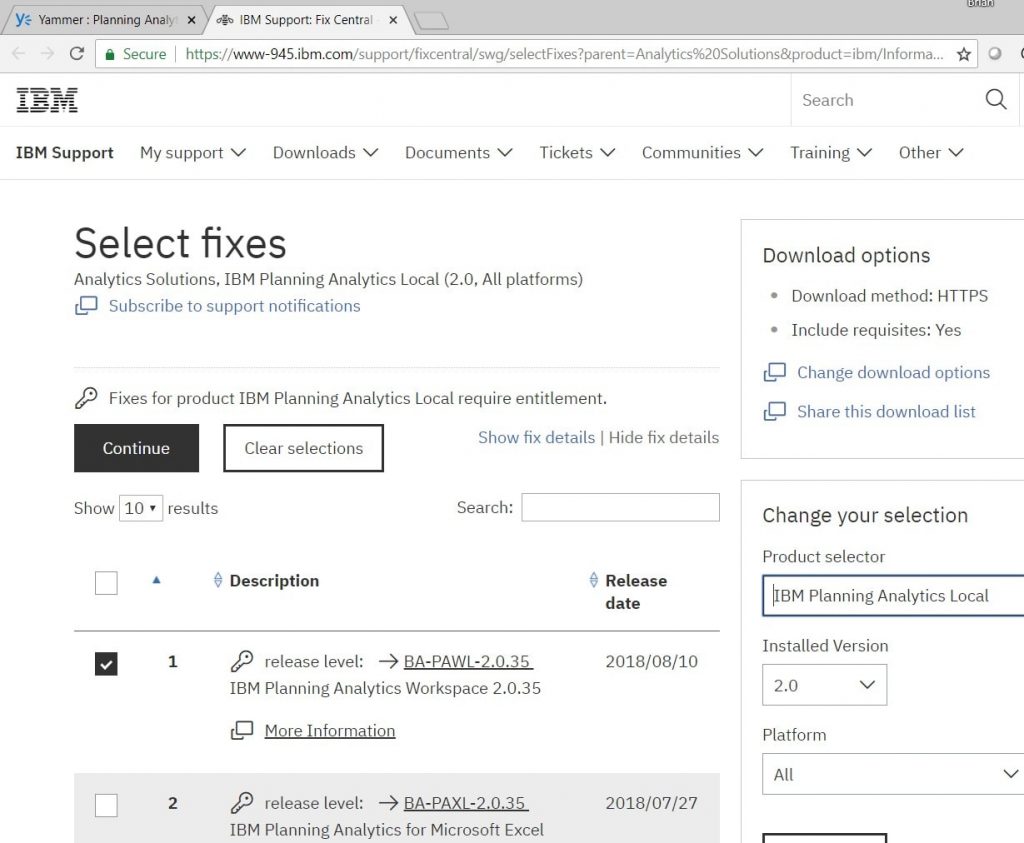
- Download the latest version of Planning Analytics Workspace from IBM Fix Central. Choose the latest Planning Analytics Workspace version available (PAWL-2.0.35 shown)
https://www-945.ibm.com/support/fixcentral
**Perform Linux commands using root account or ‘sudo’ command where necessary**
- In Linux, navigate to the PAW directory ($ cd /opt/paw) and create a new directory for the version of PAW that will be installed. The new version number in this guide will be represented by XX. The old version number will be represented by ZZ
- $ sudo mkdir pawXX
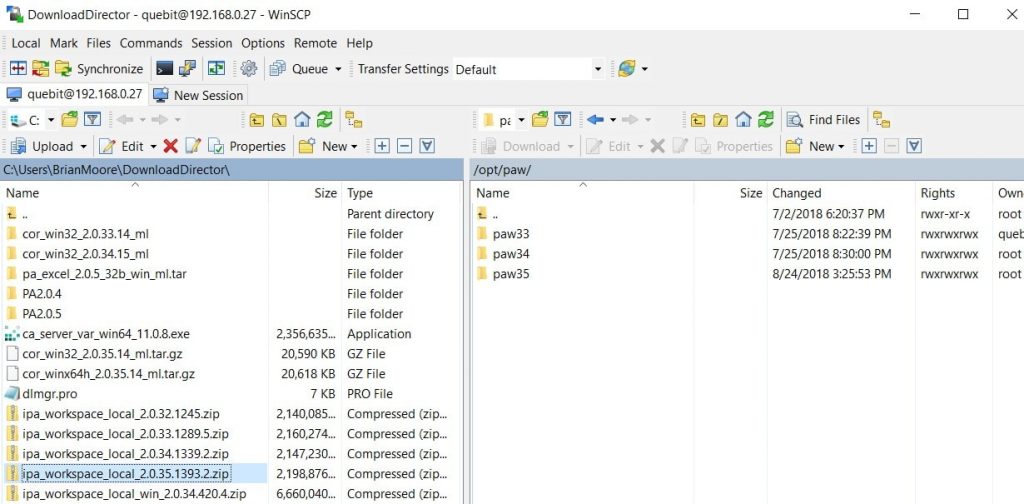
- Use file transfer software (WinSCP, FileZilla, etc) to copy the zip file for the new PAW version from the download location to the Linux machine. Make sure to copy the Linux zip file (not the Windows zip file indicated by ‘local_win’). Naming convention should be as follows (with XX for the new version number):
- 0.XX.<build number>.zip
- In Linux, unzip the new version file and once the unzip has successfully extracted all files, delete the zip file
- $ cd /opt/paw/pawXX
- $ unzip ipa_workspace_local_2.0.XX.1393.2.zip
- $ rm -r ipa_workspace_local_2.0.XX.1393.2.zip
- Copy the current PAW ‘paw.env’ file from the old installation location to the new installation location
- $ cd /opt/paw/pawZZ/config
- $ cp paw.env /opt/paw/pawXX
- Copy the current PAW ‘certs’ directory from the old installation to the new installation location
- $ cd /opt/paw/pawZZ/config
- $ cp -r certs /opt/paw/pawXX
- Run the Start script to start the Admin tool
- $ ./Start.sh
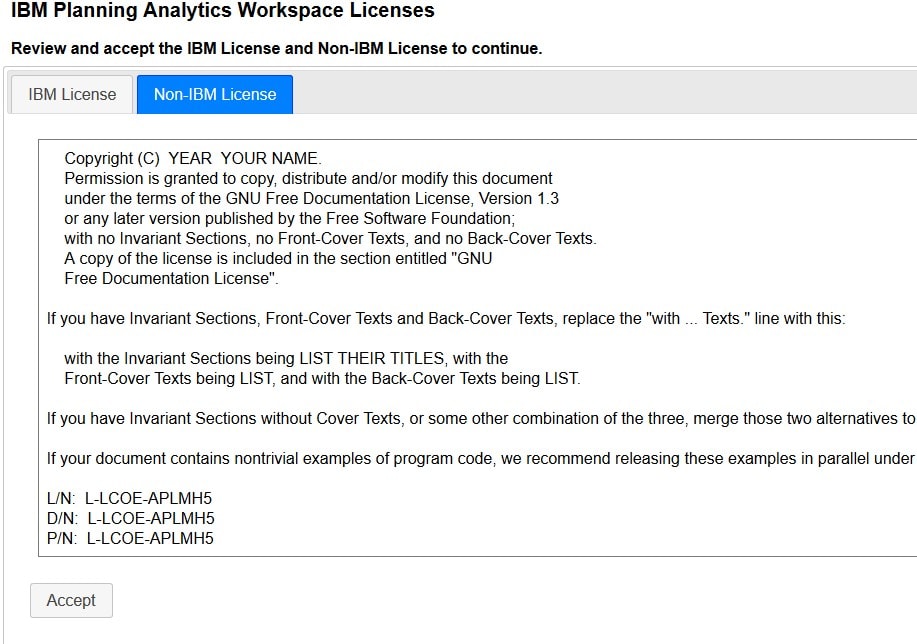
- Accept both tabs on the licensing agreement
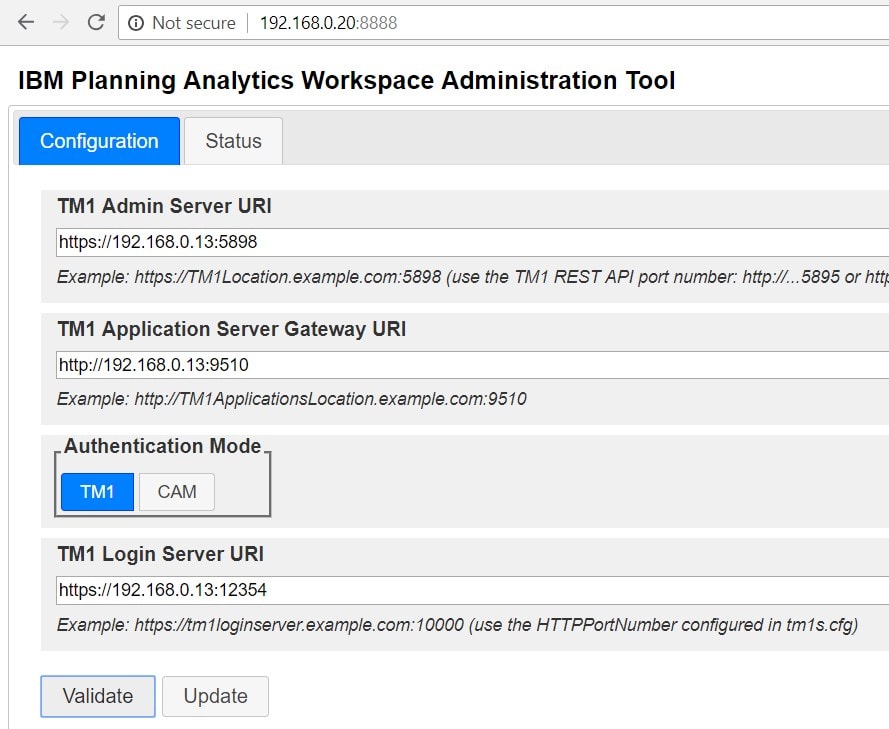
- Verify the settings in the Admin Tool and then click ‘Validate’ and ‘Update’ to update services
- Delete the old PAW directory
- $ cd /opt/paw
- $ rm -r pawZZ
***In newer PAW releases, there is a cleanup script which can be run to delete the old PAW version. Navigate to the old PAW directory and run the script as follows:
- $ cd /opt/paw/pawZZ/scripts
- $ ./clean.sh
These steps have been derived and elaborated upon from the following IBM page: