Wow, branding on my Cognos Portal.. Great Welcome page!
Business Case:
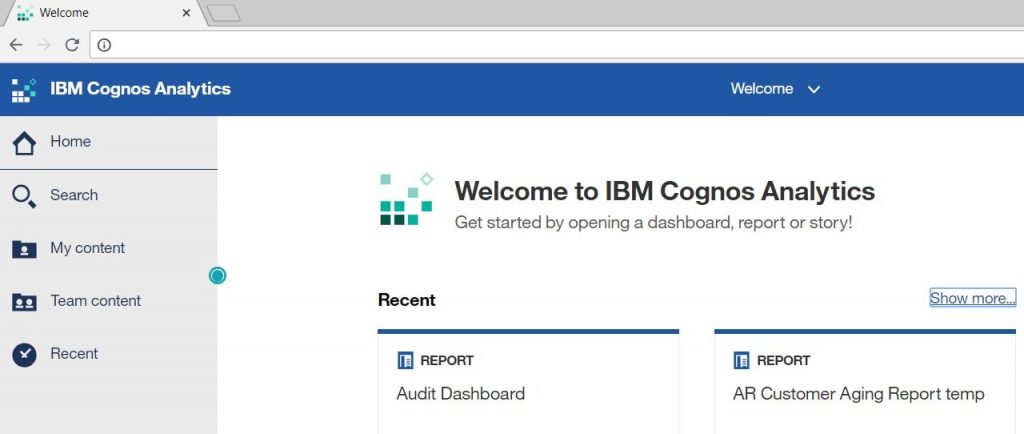
When using Cognos Analytics V11, there is a default welcome page which is quite nice, but not very brand friendly. The goal of this article is to show you how to go from this generic IBM welcome page ….
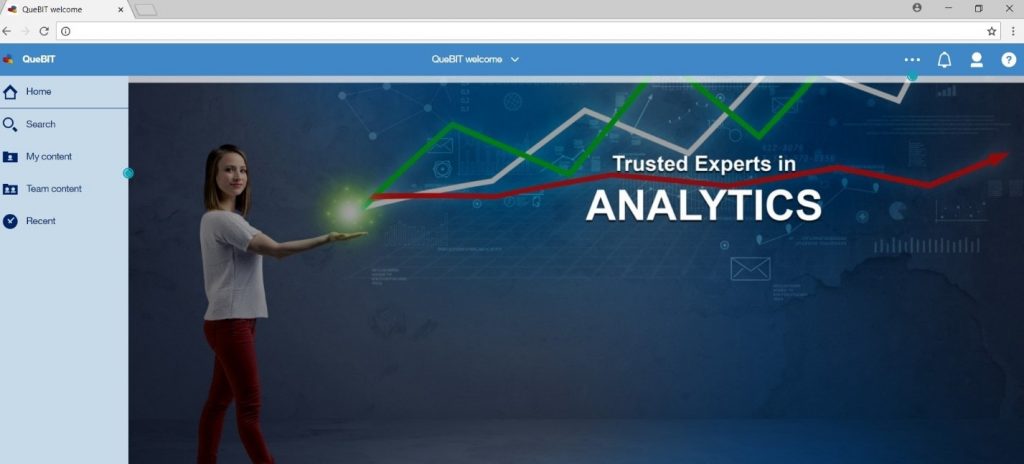
To the customized welcome page below…
Procedure:
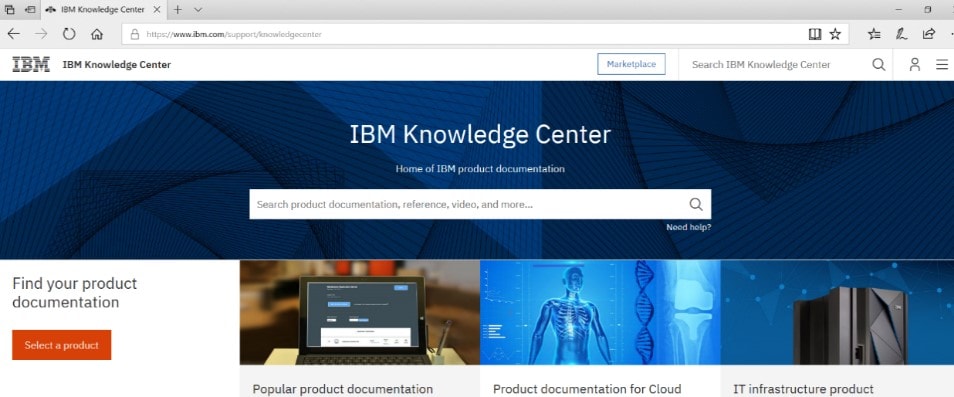
- Go to the IBM Knowledge Center and download the SampleWelcome.zip file.
- Unzip the file using any available application and save the files to a subdirectory called “CompanyName_Welcome”. For this example, I’ve saved the file to “QueBIT_Welcome” folder.

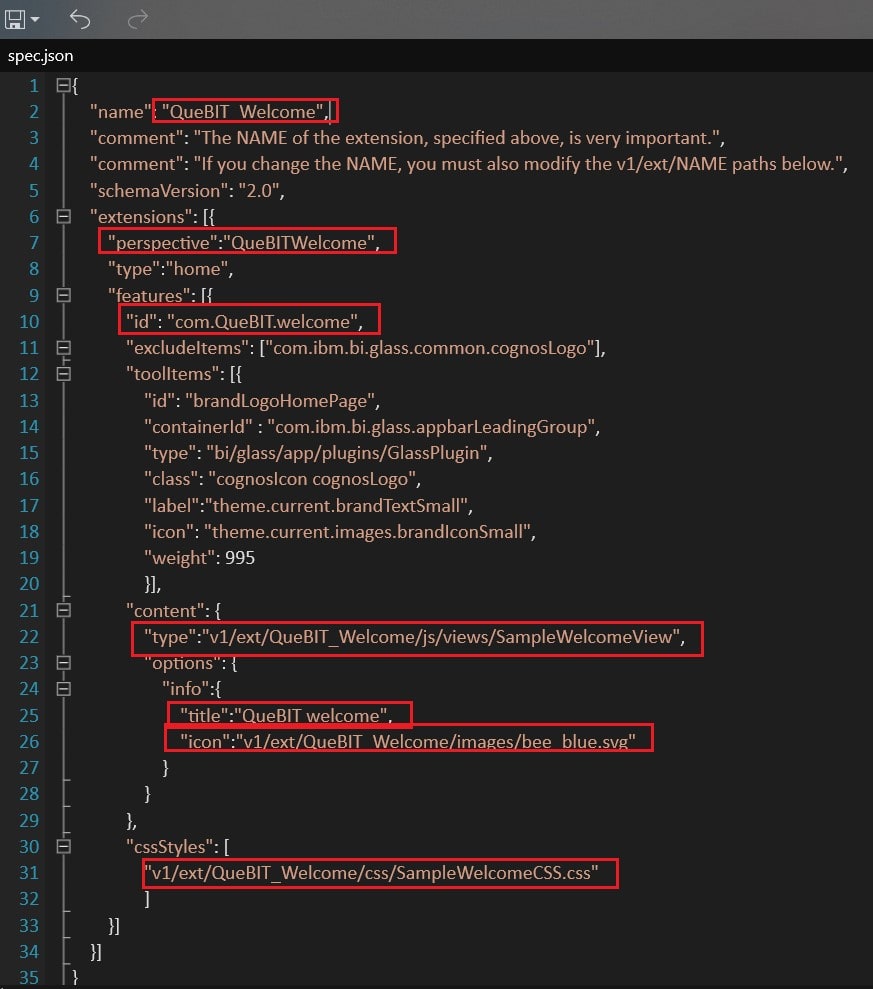
- Update your spec.json file, customizing the JSON code for the welcome page you are creating. Note, the name of the extension is very important. If you change the NAME, you must also modify the v1/ext/NAME paths. See the modifications I’ve made below for this example.
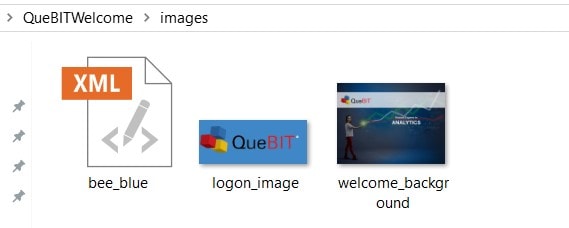
- Under the images folder, replace the logon image and welcome background image with the images you will be using. Ensure you keep the proper names, “logon_image” and “welcome_background” as they are being referenced in the code you will be uploading to CA.
- Update the HTML files as shown below. Please note, I’ve commented out the additional information such as a reference to the youtube channel and company name, as my background provided the information I wanted to display. Just as with the JSON file, I’ve updated the v1/ext/NAME paths to the new name I’m using.

- Zip the image, js, ccs folders and the spec.json file using any zip program available to you. For this example, we named it “QueBIT_Welcom.zip”.
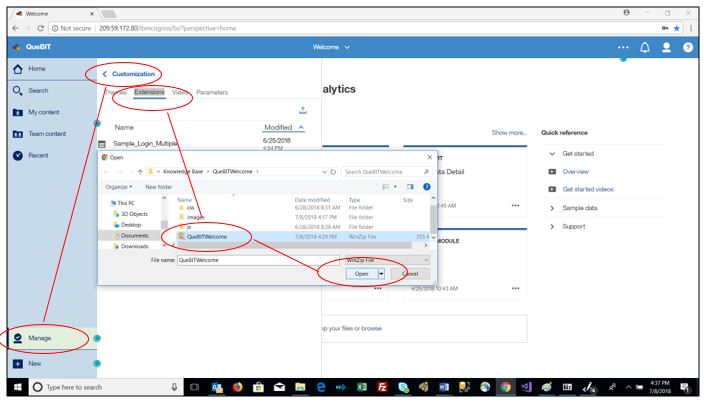
- In the Manage > Customizations slide-out panel, select the Extensions tab, click Upload extension(), browse to the folder where the zip file is located, and select QueBIT_Welcom.zip.
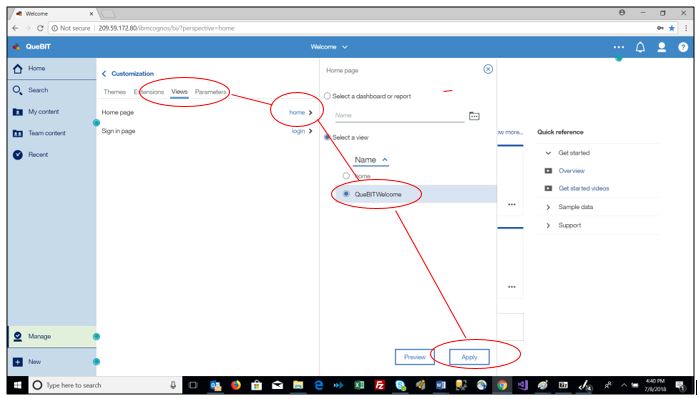
- On the Views tab, click next to the default sign-in view. Select the QueBitWelcome view as the default home page and apply.
- The following message will appear showing you have successfully uploaded the home page settings.
![]()
- Sign out of IBM® Cognos® Analytics, sign back in and you will see the updated welcome page.
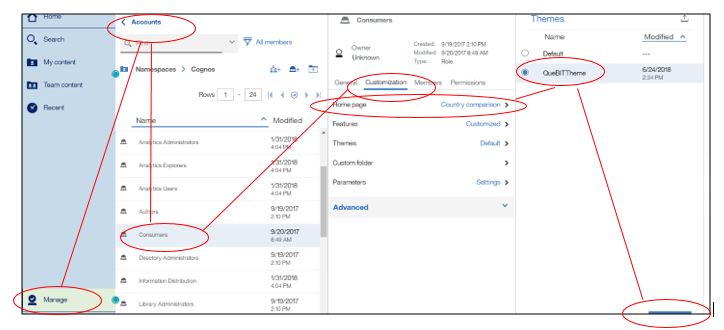
- Taking this a step further, you can now customize roles with this welcome page. In this example, we are customizing the consumer role. Under Manage>Accounts, find the Consumer Role. Choose the properties> customize and apply the QueBITWelcome view as the home page. Now all members of the consumer role will see this home page when they log on.
