Wow, now I can add a URL link to my Cognos Analytics (CA) Welcome Page!
Business Case:
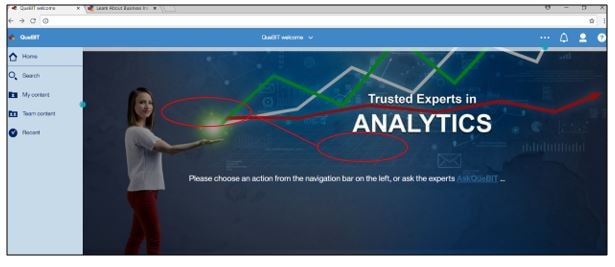
In an earlier QueBIT Knowledge Base article, “Setting a Default Welcome Page in Cognos Analytics 11.0.4+”, you learned how to set up a custom welcome page in CA. In this article, we are going to add a URL link to the welcome page, giving the users easy access to additional resources right from the welcome screen.
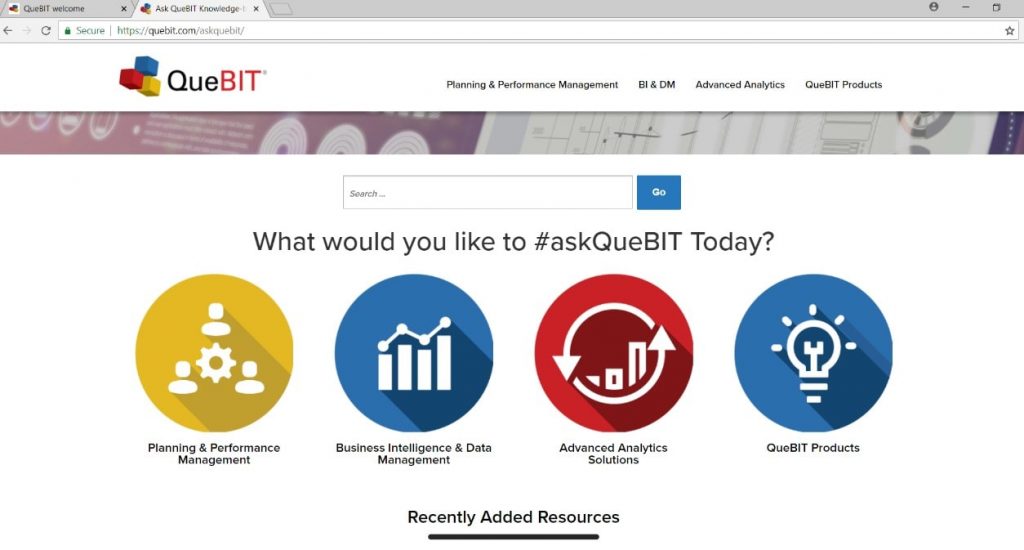
For this example, we are specifically adding a URL link to our “AskQueBIT” site, providing our users quick access to our “Ask the Expert” blogs and articles under the Quebit website (www.quebit.com).
Please note, I recommend you review the earlier article on how to customize the welcome page prior to starting this article.
Procedure:
- When creating the new Welcome Page, you updated some Sample files and stored them in the QueBIT_Welcome folder.
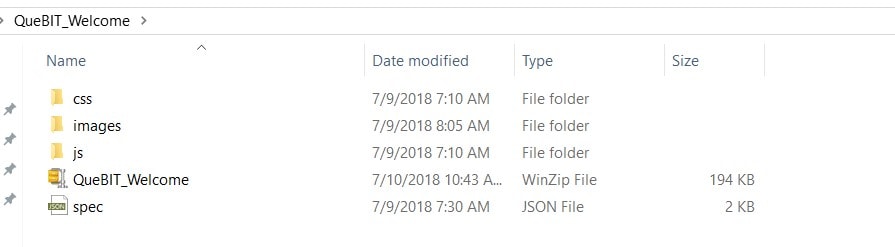
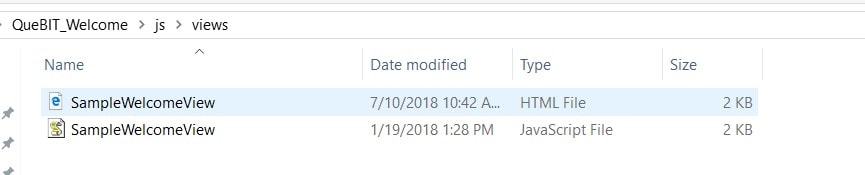
- Drill down to QueBIt_Welome/js/views/ folder and open the SampleWelcomeView.html file
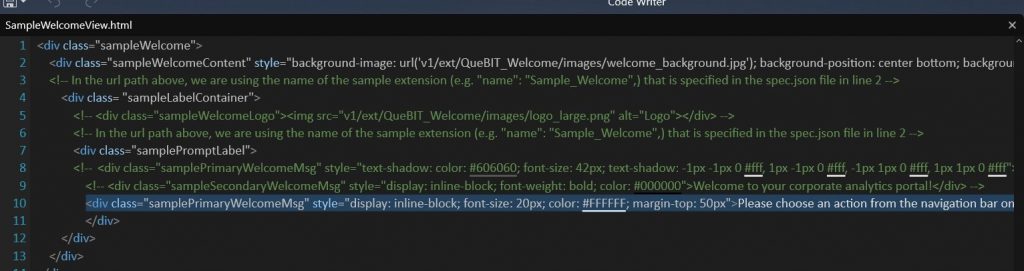
- Using a code editor, add the following code to the html file:
<div class=”samplePrimaryWelcomeMsg” style=”display: inline-block; font-size: 20px; color: #FFFFFF; margin-top: 50px”>Please choose an action from the navigation bar on the left, or ask the experts <a href=”https://quebit.com/askquebit/business-intelligence-data-management/”target=_blank”><b>AskQueBIT</b></a> …</div>
Here is some additional information on the HTML code used above:
- <div>: Definition of a section in a document
- “Class = ” specifies one or more class names for an element and is mostly used to point to a class in a style sheet. However, it can also be used by a JavaScript (via the HTML DOM) to make changes to HTML elements with a specified class.
- “Style = “ defines style information for an HTML document. Inside the <style> element you specify how HTML elements should render in a browser.
- “href = “ Specifies the URL of the page the link goes to. If the href attribute is not present, the <a> tag is not a hyperlink.
- “target=_blank” specifies the new target will open in a new browser window.
- Below is a screen print of the added code to the HTML file
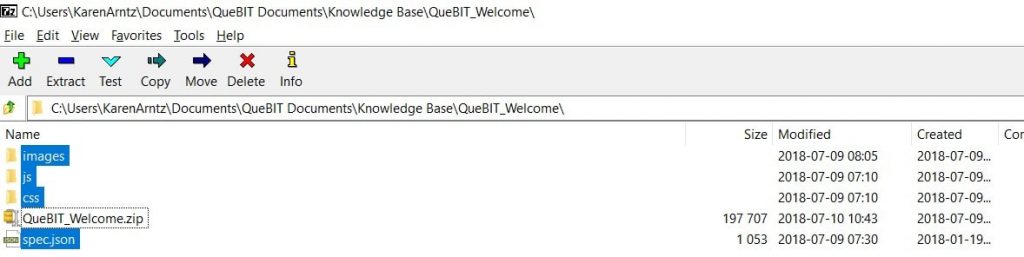
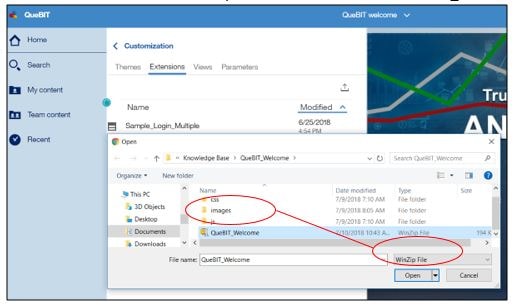
- Zip the image, js, ccs folders and the spec.json file using any zip program available to you. For this example, we are writing over the original “QueBIT_Welcom.zip” file already created.
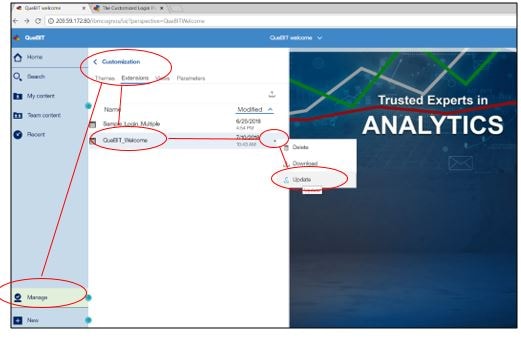
- Open CA. In the Manage > Customizations slide-out panel, select the Extensions tab, click the “…” symbol next to “QueBIT_Welcome” and choose “Update”
- Browse to the folder where the zip file is located, and select QueBIT_Welcom.zip to open
- The following message will appear showing you have successfully uploaded the file.

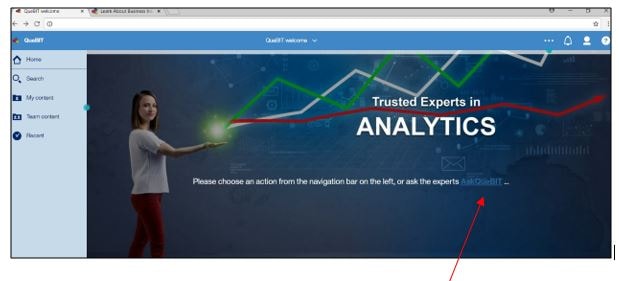
- Refresh the browser, and you will see the updated welcome page with the URL link.