
Editing Files using PAW Drive Explorer

You may already be aware that the Rich Tier Desktop is “going away” and Planning Analytics on Cloud Modelers will need to use Planning Analytics Workspace (or “PAW”) for administrative tasks, including using Drive Explorer for individual file management, such as copying or moving files or folders across cloud environment shared folders and “to and from” your local desktop.
Drive Explorer
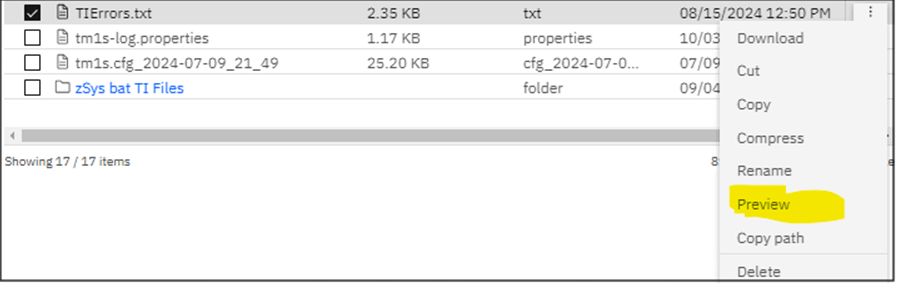
Drive Explorer is similar to MS Windows File Explorer; you can copy and move files (back and forth between your local environment and the cloud and within the cloud shared folder), and for some file types (primarily text-based file types like .txt, .csv, and potentially some basic image formats like .jpg and .png), you can preview the contents (by clicking on the ellipsis icon and selecting Preview) giving you a chance to get a “taste” of the data within the file directly in the explorer window.
One Difference
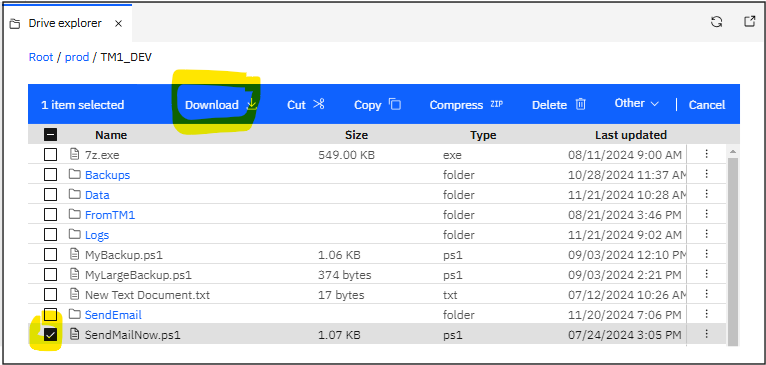
Once difference (between Drive Explorer and File Explorer) is that you cannot edit files directly in Drive Explorer – you need to download it, perform your editing, and then replace (upload) it. To download a file in IBM Planning Analytics Workspace Drive Explorer, you can navigate to the desired file within the Drive Explorer, select it, and then right-click to access the context menu where you can choose the “Download” option; this will initiate the download process to your local machine.
To upload a file in IBM Planning Analytics Workspace Drive Explorer, you can navigate to the desired folder within the Drive Explorer, then click the Upload Files icon:

Then either drag and drop the file directly from your local computer or use the “Upload” option (usually a button or icon) to browse and select the file you want to upload.
An Extra Step
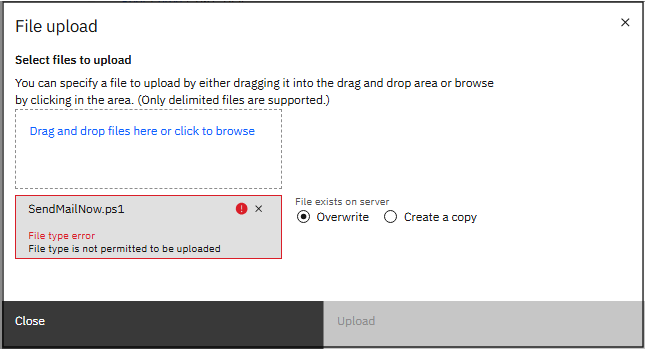
Unfortunately, when using the Drive Explorer, the only file types you can upload are CSV (Comma Separated Values), text (.txt) and .zip files; if you attempt to upload a file of a different type, you will get a File type error – File type is not permitted to be uploaded:
A Workaround
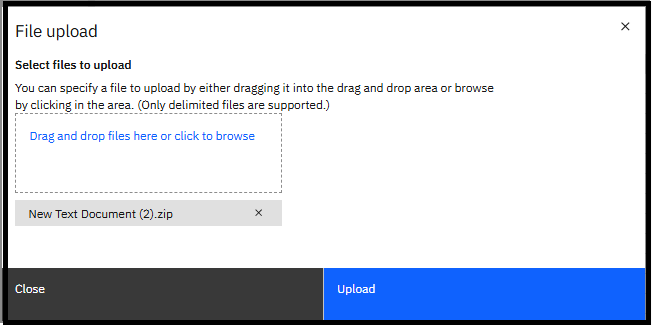
If you are editing a file type other than CSV or txt, you will have to compress (zip) the file (once you have completed your editing) and then upload the .zip file (after which you can uncompress the file, exposing its original file type):
Uncompressing
Once you have uploaded your (zipped) edited file, you can use Drive Explorer to easily uncompress it. The Drive Explorer Action Menu Bar offers the ability to expand zipped (compressed) files. To expand a file, click the checkbox to select it and when the Action Menu Bar appears in blue, click Expand.

The selected file will be displayed as shown below and you will need to click Expand (again) to initiate that actual “unzipping” process (or click Cancel if you changed your mind) and the file will be expanded within the current directory.

Note that you can also click “Expand to” which allows you to choose a specific folder within the current directory to extract its content:

If you would like more information on the above or have specific questions about the use of Drive Explorer or the deprecation of the Rich Tier Desktop, you can always contact the QueBIT team.