
Since I’ve worked with SQL Server Integration Services (SSIS) off and on for a while, I have been anxious to explore Azure Data Factory (or ADF) to see what the differences are and how it stacks up.
While SSIS may be a familiar ETL tool for on-premises work, Azure Data Factory (defined as a “platform designed to solve data scenarios”) is a managed service in the cloud providing the ability to extract data from different sources, transform it with data driven pipelines, and process the data.
In another blog I outlined the step-by-step for building and executing a simple SSIS package, so here I want to tackle creating an Azure Data Factory instance and then using it to perform a simple ETL task.
Getting Started
To create a Azure Data Factory instance, the user account that you use to sign into Azure should be either the Azure subscription owner (or a subscription administrator) or an ID that is a Data Factory Contributor role at the resource group level or above.
Azure Storage Account
Azure Data Factory requires that you define at least one storage “container”. A container organizes a set of data objects, similar to a directory in a file system within an Azure storage account. A storage account can include an unlimited number of containers, and a container can store an unlimited number of data objects.
An Azure storage account will contain all of your Azure Storage data objects: such as blobs, file shares, queues, tables, and disks. The storage account provides a unique namespace for your Azure Storage data and is accessible from anywhere in the world over HTTP or HTTPS (based upon your configuration settings). Data you house in a storage account is durable, highly available, secure, and extremely scalable.
Storage
You can use a “general-purpose” Azure Storage account for both source and destination data stores within an Azure data factory, so let’s create a new “gp” storage account and then add a container to it. To do that, from within the Azure portal menu, select All services, then select Storage > Storage accounts.
Since we are working with a new Azure subscription in this example, there are no storage accounts set up yet:
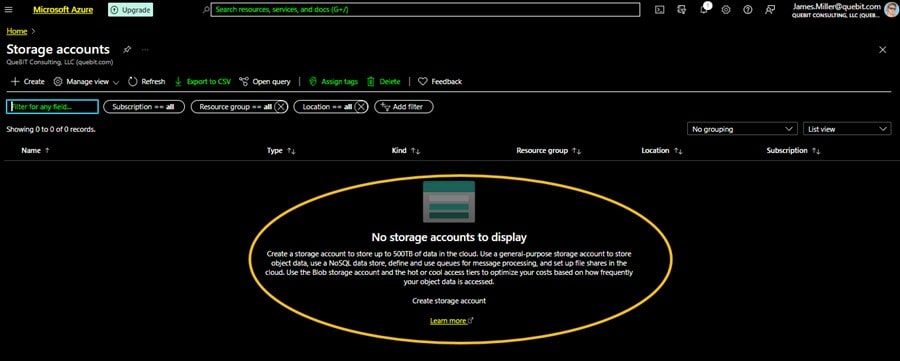
We need to click + Create and configure an account by selecting a Subscription and Resource group (I created a new resource group for this exercise):
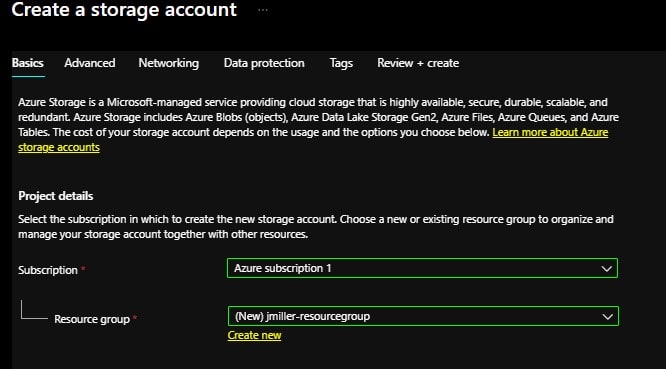
Next, I named my storage account (“jmillerstorageaccount”), picked a Region where it will exist and selected the standard performance and redundancy options:
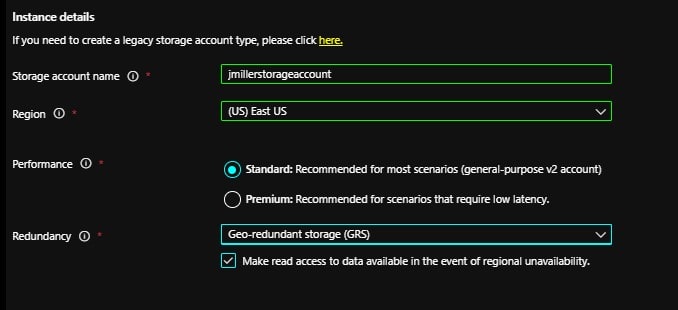
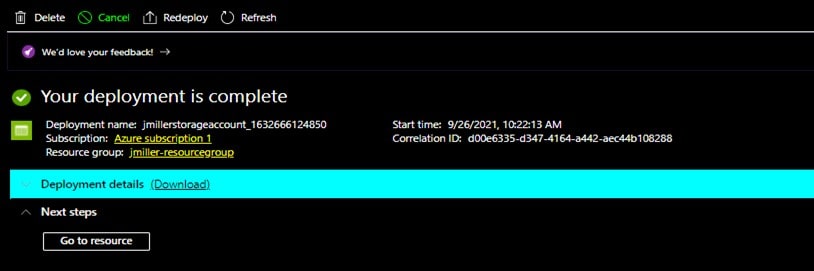
After reviewing the configurations and clicking Create, the deployment will be processed and completed within in minutes:
Creating a Storage Container
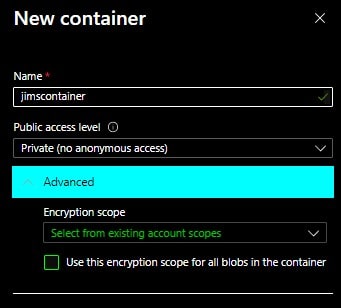
Now that we have established a storage account, we need to create a storage container which, as already mentioned, a storage container can store an unlimited number of data objects. From the above page you can click on Go to resource then on the New container page, you provide a name for the new storage container (I named this one “jimscontainer”) and set the access level to Private and then clicked Create.
Now we have our new storage container!

If you now click on the container name, you will see that it is currently empty:

Adding Data
Azure Blob storage is Microsoft’s object storage solution for the cloud. Blob storage is optimized for storing massive amounts of unstructured data. Unstructured data is data that doesn’t adhere to a particular data model or definition, such as text or binary data. An Azure container organizes a set of blobs, similar to a directory in a file system and a container can store an unlimited number of blobs. The Azure Data Factory supports copying data to and from Blob storage. For now, let’s try adding some simple blob data to our container directly so we click on Upload and we get the Upload blob page:
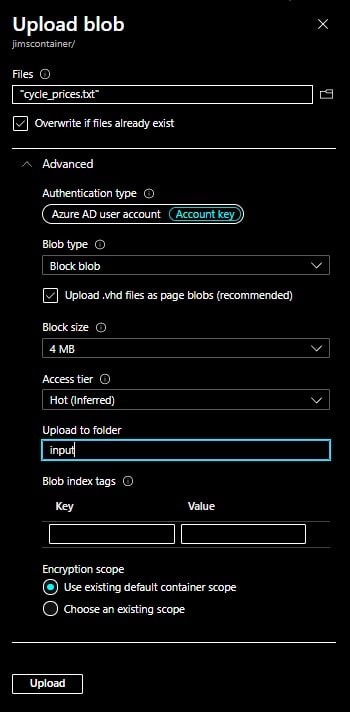
Here, you can conveniently browse to a file to fill in the Files text box and indicate if it should be overwritten if it already exists. I selected a simple text file named “cycle_prices.txt”, kept the Authentication type of Azure AD user account and for Blob type, and selected Block blob (there are three different types of blobs: Block, Append and Page and block blobs are the “simplest form” of blobs and made up of blocks of data that can be managed individually. You can read more about Azure blob storage here). Next, I set Access tier to HOT.
If you leave Upload to Folder blank, the uploaded file will land in the container’s root area, so I entered “input” to have a folder created with that name, finally I left Encryption scope as “use existing” and clicked Upload.
Once the upload completes, you should see the (newly created) input folder and if you click on it, you’ll see the uploaded file:

The Data Factory
Now that we have an established storage account with a storage container, we can go on and set up a Data Factory Instance. On the Azure portal menu, select Create a resource then under Categories, click on Integration. From there, you can locate the Data Factory icon and under it, click Create:

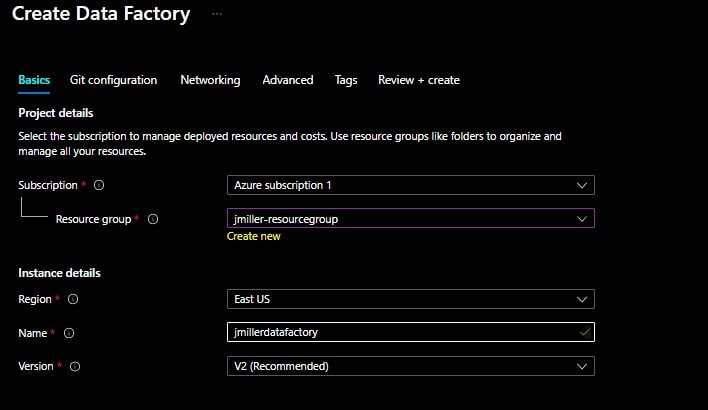
On the Create Data Factory page, set the Basic information required: an Azure subscription, Resource group, a Region and Version. We also need to provide a name for the Data Factory (as a note, Azure Data Factory allows you to configure a Git repository to be used with either Azure DevOps or GitHub, for this exercise I selected the option “Configure Git later”). When you are ready, click Review + Create.
A validation is performed and if it succeeds, the deployment will begin.
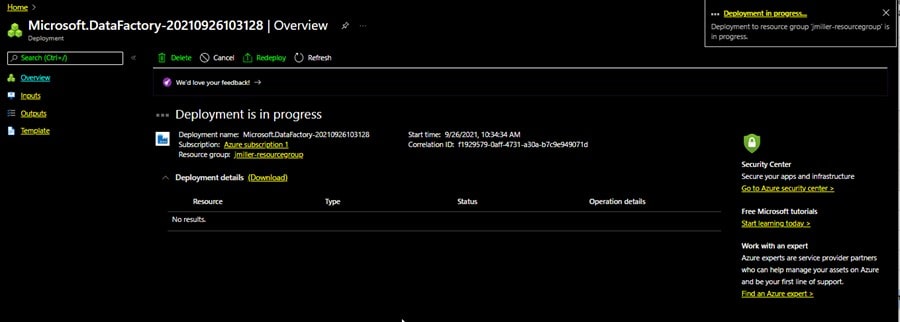
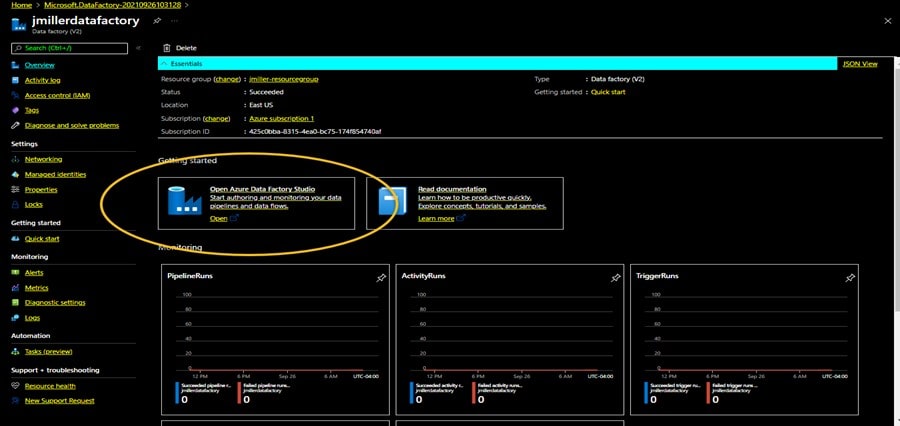
Once the deployment is completed, the data factory will appear as one of your resources. When you click on it to open it, you should see the details of the resource. To get started, we can click in the Open Azure Data factory Studio icon:
We have succeeded with creating an Azure Data Factory instance and now want to try using it to perform a simple ETL task.
Loading a SQL Table
Earlier we loaded a text file (cycle_prices.txt) to our Azure storage container. Suppose we want to copy that data into a SQL Server table using Azure Data Factory. To do that we can perform the following steps:
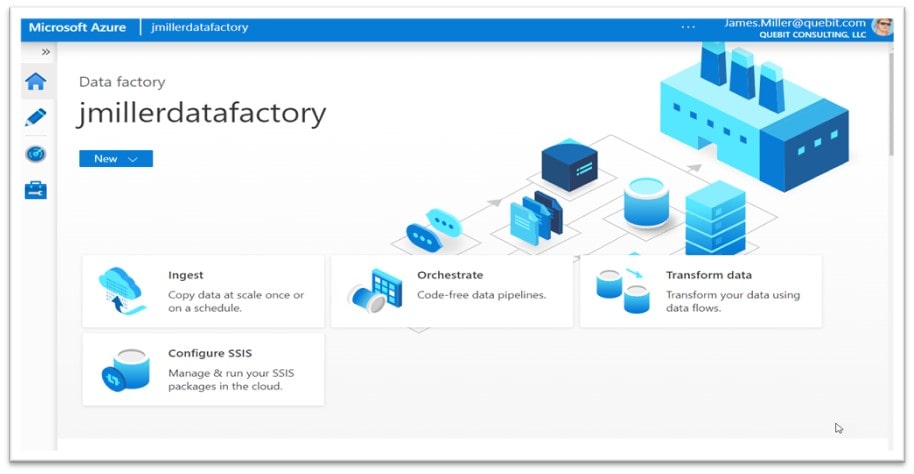
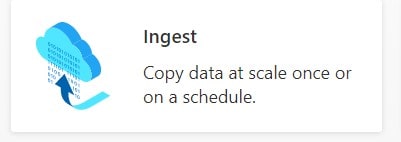
Click on Ingest:
On the Properties page, leave Run once now selected and click Next.

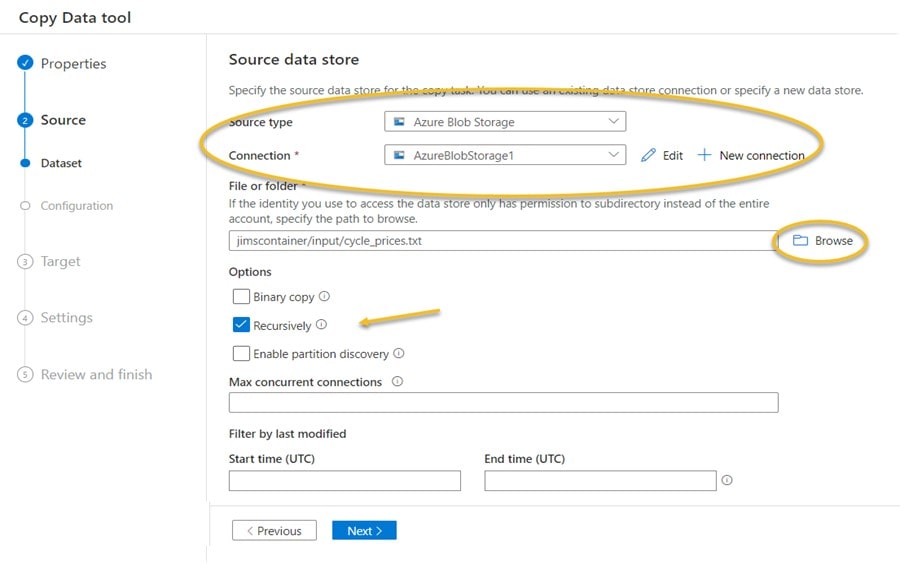
Next, we define the Source for the copy by selecting Azure Blob Storage as the source type (since we originally uploaded our text file to a blob container), define a blob connection (I named it AzureBlobStorage1) and then use the Browse feature to navigate to and select our cycle_prices.txt file. Lastly, select the Recursively option and click Next.
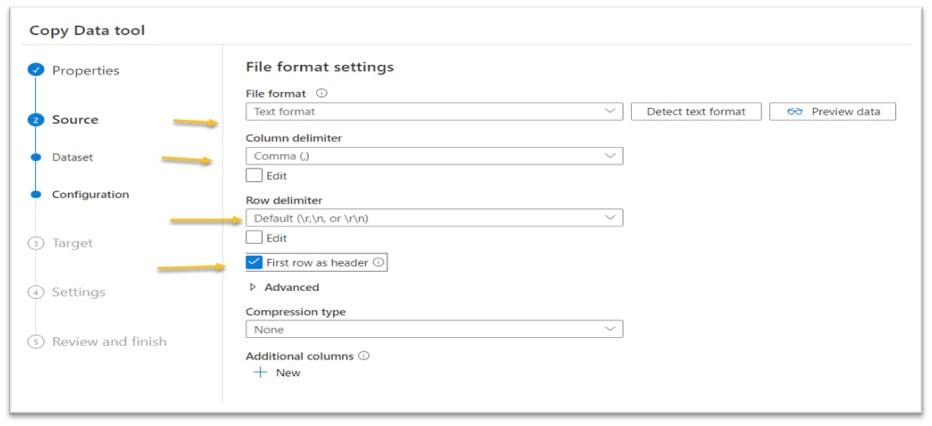
Since we are sourcing the data from a text file, we need to set the File format, Column and Row delimiters and First row as header settings (and then click Next):
Next we define the Target. I selected Azure SQL Database as my Target type and setup a new Connection by clicking on + New connection (and then filling in database connection details). After that I fill in a name for a new sql server table “latest_cycle_prices” where I want the data to be copied to. After that, I click Next.

On the Column mapping page I just leave the settings “as they are” so that the file field names become the table column names. In fact, I am going to just let the column Type default to String and again click Next:

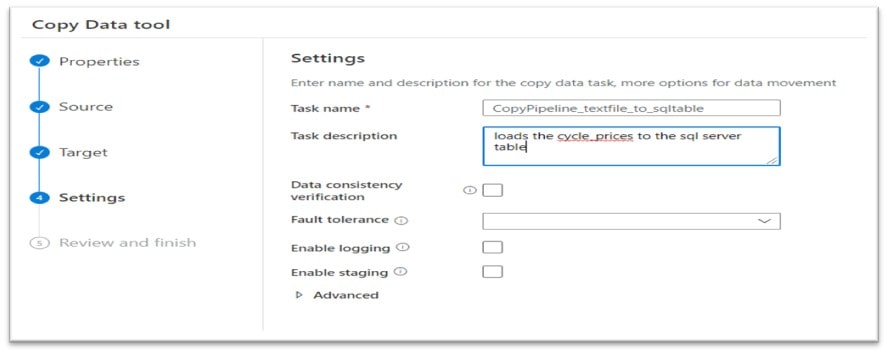
The last steps involve providing a Task name and Task description for our Data Factory copy process, click Next and
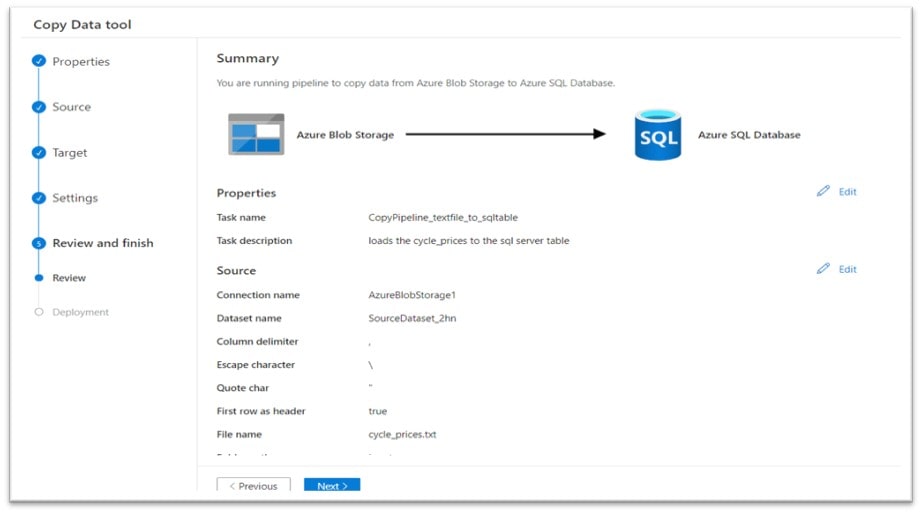
Then we can scroll through and review the Summary page and finally click Next again:
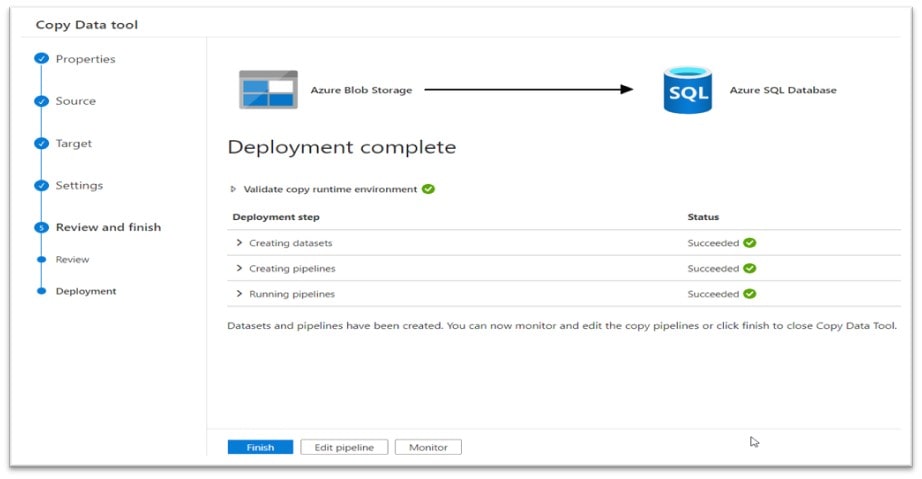
The copy task runs and shows that each Deployment step succeeded:
Validation
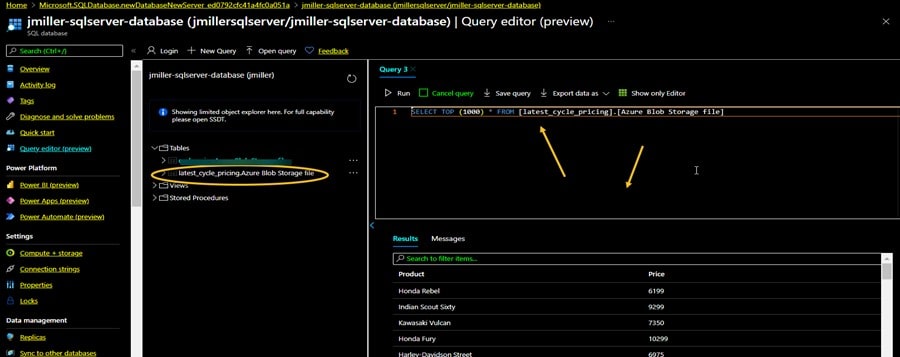
In another post I demonstrated how to open a sql server database in the Azure portal and use Query Editor to view objects and data. If we go back to the Azure portal now, we can again write a simple Query and see that our new table was created and loaded with the data from the text file:
Conclusion
To put a wrap on all this, I’ve configured an Azure Storage account, added a Storage Container, and then deployed a Data Factory instance that uses the storage container. After that I created a simple Data Factory pipeline to copy data from a text file I uploaded to a SQL Server table all without any programming. I cant wait to see what else I can accomplish with the ADF architecture!