
In an earlier post I spent some time exploring symmetric encryption in SQL Server. In this article I wanted to address another kind of security offered in SQL Server: “Always Encrypted”.
Always Encrypted is a security feature which was introduced in an earlier version of SQL Server and is designed to ensure that data stored in a database remains encrypted at all times during SQL Server query processing. What is perhaps unique about this feature is that it allows clients to encrypt their sensitive data inside their client application without revealing the encryption key to the database engine.
As a result, Always Encrypted provides a separation between those who “own the data” and those who “manage the data”. Even DBAs, system and cloud administrators cannot access the data that you encrypt.
How Always Encrypted Works
Always Encrypted is a client-side encryption and makes encryption “transparent” to the application, meaning data is transparently encrypted and decrypted by a client driver, using the client managed the encryption key.
The encryption key can be stored in either the Windows certificate store on the client machine or an Azure Key Vault. Since the keys are managed client-side, the server does not have access to them.
The client driver encrypts data before passing it to the Database Engine and automatically rewrites queries so that the semantics are preserved. When the client application retrieves the encrypted data from the database, the same driver transparently decrypts the data to return plain text. Consequently, SQL Server never sees the sensitive information in plain text.
Let’s Try Setting up Always Encrypted in SQL Server
So, what are the steps to use Always Encrypted to encrypt data in a SQL Server table?
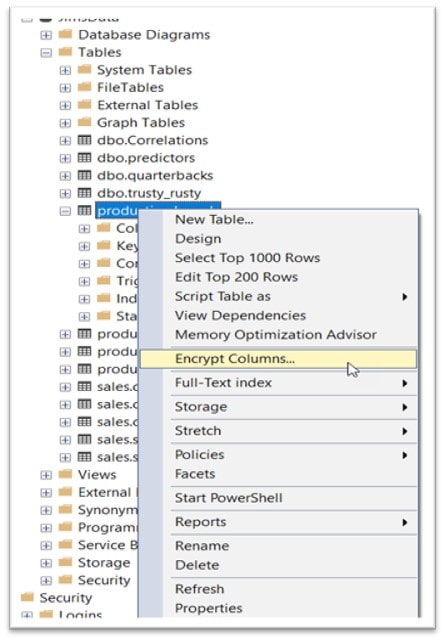
Connect to the database where you want to implement Always Encrypted using SQL Server Management Studio (SSMS) and simply right-click on a table (that you want to target) and select Encrypt Columns.
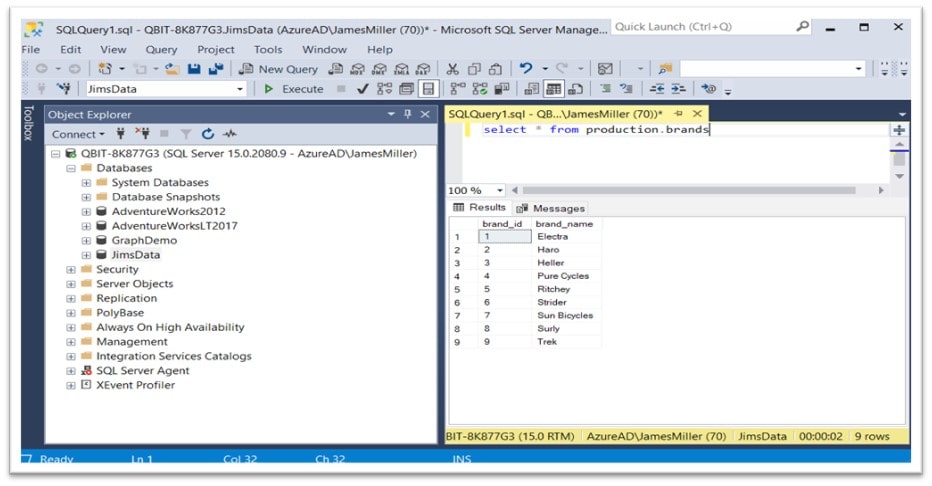
As a simple example, I chose a random table in my database named: production.brands.
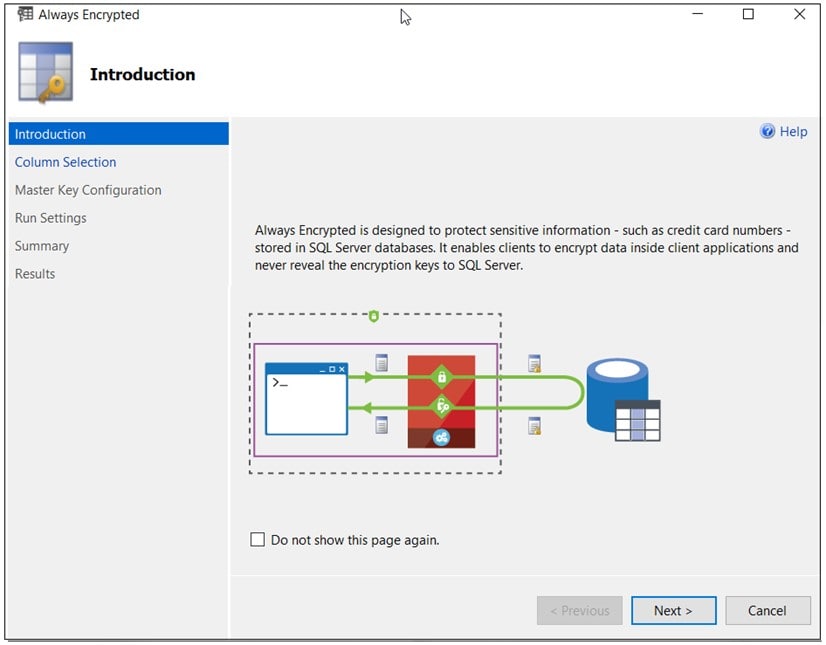
On the right-click, the Always Encrypted wizard will start to guide you through the process of encrypting column(s) in the selected table. The wizard has 6 steps (Introduction, Column Selection, Master Key Configuration, Run Settings, Summary and Results) as shown on the left-hand side:
Column Selection
On the Introduction dialog, clicking the Next button proceeds to the column selection step. In this step, you select the columns that you want to encrypt (or decrypt) and define the target encryption type for the selected column(s).
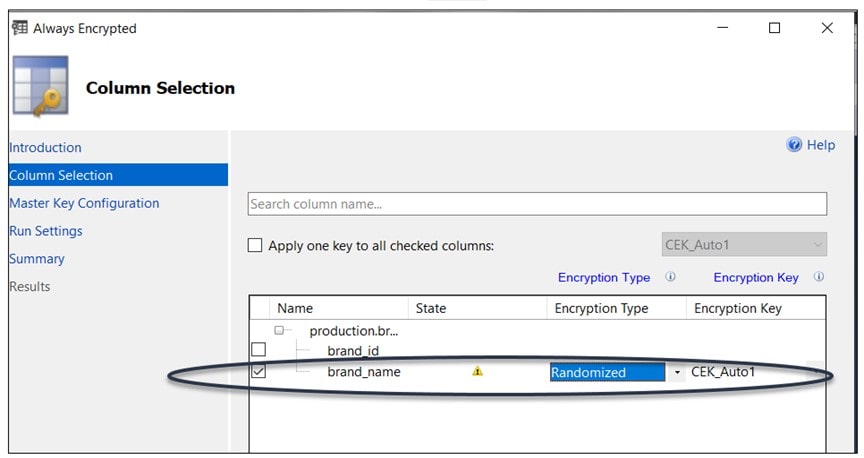
The table I’ve chosen for this exercise (production.brands) has only 2 columns, so I selected the column “brand_name” to be encrypted. I have also selected Randomized as the Encryption Type and let the Encryption Key default to a new key name of “CEK_Auto 1”. Always Encrypted supports two encryption types: randomized and deterministic. For information about encryption types supported in Always Encrypted, see Selecting Deterministic or Randomized Encryption.
Master Key Configuration
Click Next (again) and the wizard will move on to the Master Key configuration step.
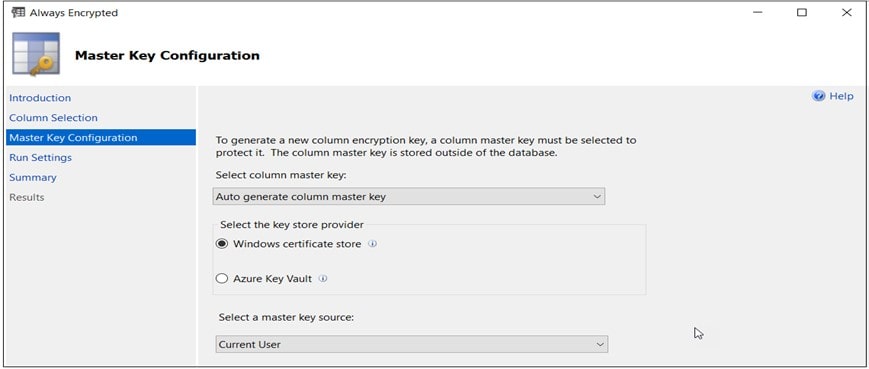
Here, I selected the default: Auto generate column master key (rather than using an existing key) and to keep things uncomplicated, I also selected the Windows Certificate Store as the “store provider” (where the key will be stored).
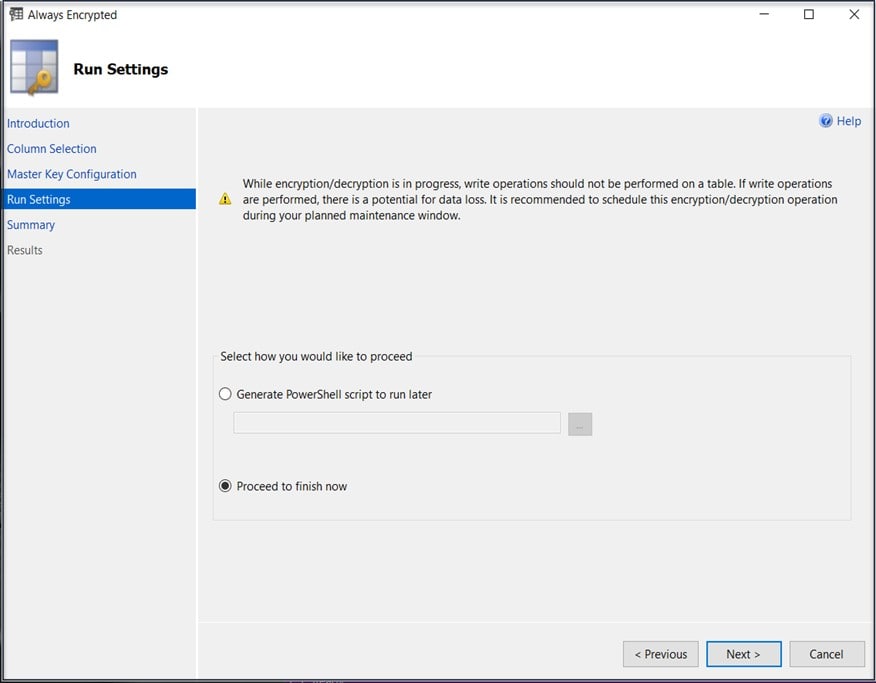
Run Settings
Click Next and we are presented with the Run Settings step. Here, the wizard gives you a choice to “Proceed to finish now” or “Generate a PowerShell script to run later”. I selected Proceed to finish now. Keep in mind that if choose to proceed now, applying Always Encryption to existing data can take a fair amount of time, depending on the volume of your data so you may want to consider generating the PowerShell script and running it during and off-peak time.
Summary and Results
In the Summary step you get a chance to perform a final review of your selections (server name, database name, master keys, certificate store, key(s), selected table, and column(s) and of course the encryption type(s) to be generated) and then click Previous (to go back and make any adjustments) or click Finish (to proceed and apply the encryption). The Results step will show a summary of the progress and result of each task as the encryption is applied. A more detailed Encryption Wizard Log Report is also generated and available.
Did it Work?
Once the Encryption Wizard has completed successfully it is a good idea to validate things. To start, since I selected the Windows certificate store to store the generated certificate, I can open the Certificate Manager tool (certmgr.msc) on the local computer and should be able to locate the Always Encrypted Auto Certificate:

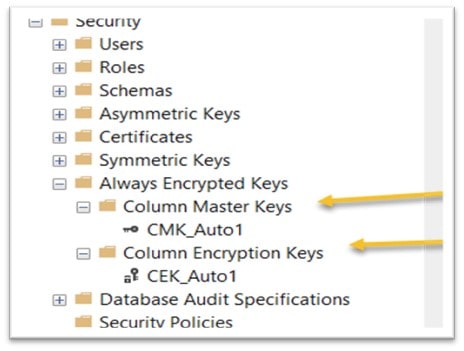
Next, within the SQL Server database, I can review the Column Encryption Keys and Column Master Keys (under Security, then Always Encrypted Keys):
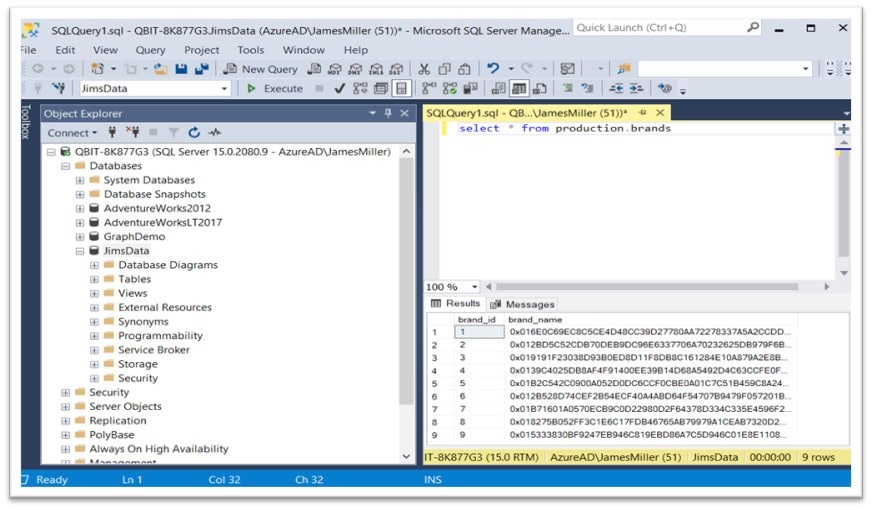
Finally, if we execute a SELECT query the production.brands table we should see the following results (all the values are encrypted for the brand_name column):
On the client machine where the certificate is being stored, we should be able to access the data in decrypted form, so let’s perform a few tests.
Using SQL Server Management Studio
To use SQL Server Management Studio (SSMS) on the client machine you can:
- Open the connection dialog
- Click on the Options button
- Choose the Additional Connection Parameters tab
- Enter “Column Encryption Setting = Enabled“
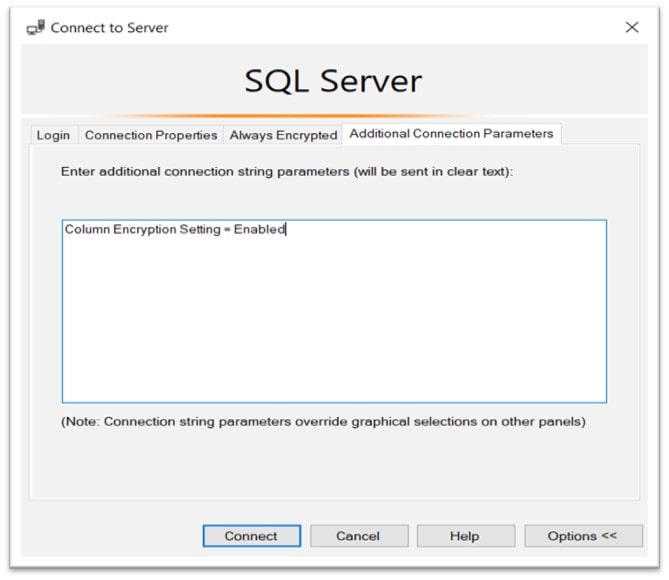
5. Click Connect
Now, if we that same select statement on the production.brands table, the result should now look like this:
Using Python
One more client-side test, this one using Python. To speed things up I can again refer back to an older post, this one using “Using Azure Data Studio Notebooks”. In that post I created an Azure notebook and wrote some simple Python scripts to query a SQL Server database. We can use the same concept for this test: use pyodbc to create a connection to the SQL Server database where we have applied Always Encrypted and then run a query on the production.brands table:
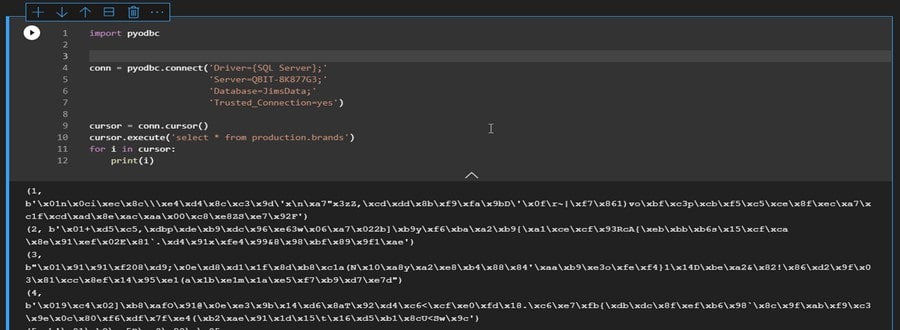
The result is that we see that the data is returned encrypted.
To invoke the driver from our Python script (so that we can decrypt the data), we can add the following parameters to the connection string:
‘Column Encryption Setting=Enabled;ColumnEncryption=VBS-HGS,http://myHGSServer.myDomain/Attestation’
Now, if we run the same code, we get our data back decrypted:
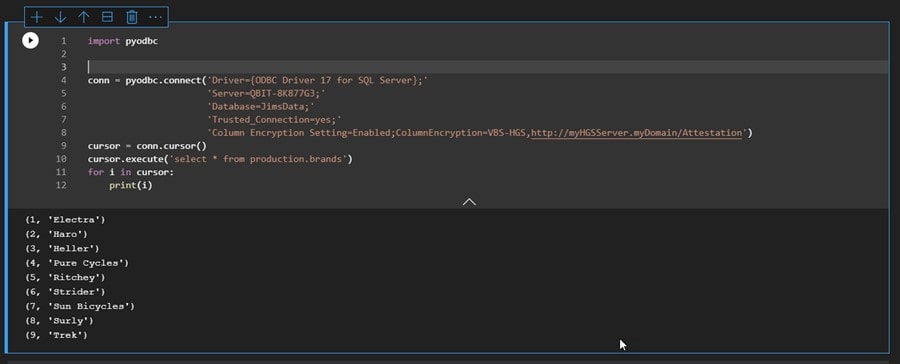
Success!