
As with most technologies, there are usually multiple ways to accomplish the same task. When performing dimension and/or attribute maintenance, the first step is to quantify the number of changes that need to be made. If you have 1 or 2 minor changes, then updating the structures manually might be a good way to go. However, if your list is more substantial, you may want to consider using the IMPORT method.
Within the Modeling menu, there are two separate links for Dimensions and Dimension Attributes, each containing their own methods for manually maintaining or importing elements and structures. But, why not save some time and maintain them BOTH in one fell swoop?
In this article, we will demonstrate how you can do just that by maintaining and importing your Dimension and associated “tagged” Attributes in a single template.
*Note: This example assumes that you are working with a LIST type dimension and that the ATTRIBUTE has already been created.
In Adaptive Planning, you can TAG your dimension elements with Attributes, allowing you to produce alternate hierarchies to categorize your data, and add filters to your cube sheets, reports and charts.
In this example, we will be looking at the STATE dimension and the SALES REGION attributes.
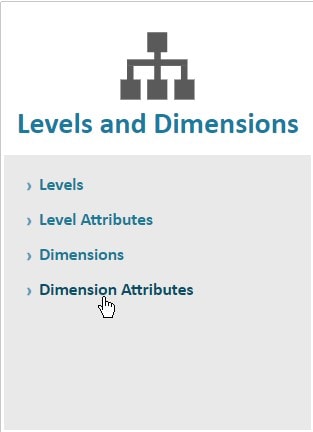
From the main menu, navigate to MODELING

Select Dimension Attributes
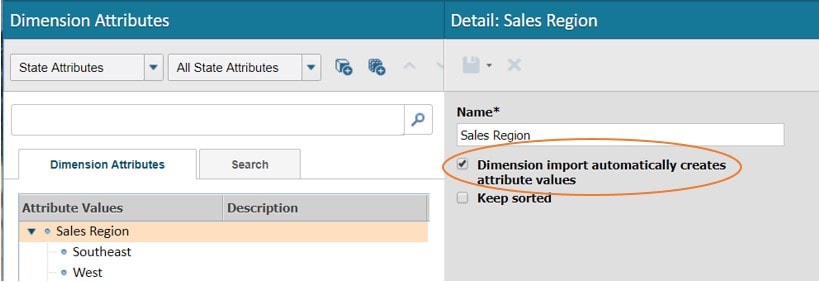
Ensure that the check box to automatically create values is checked. For example, lets assume that the only two Sales Region attribute Values we currently have setup are “Southeast” and “West”. By checking this box, you can assign other regions like “Northeast” and “Central” in your import file and they will automatically be added to the attribute structure AND assigned as dimension tags upon import.
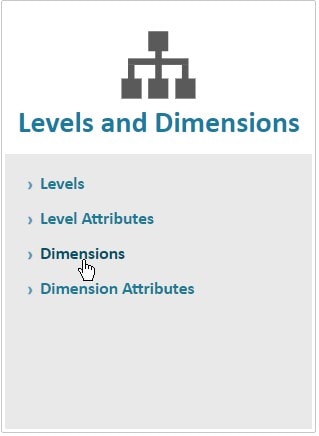
Next, from the Modeling menu, select DIMENSIONS
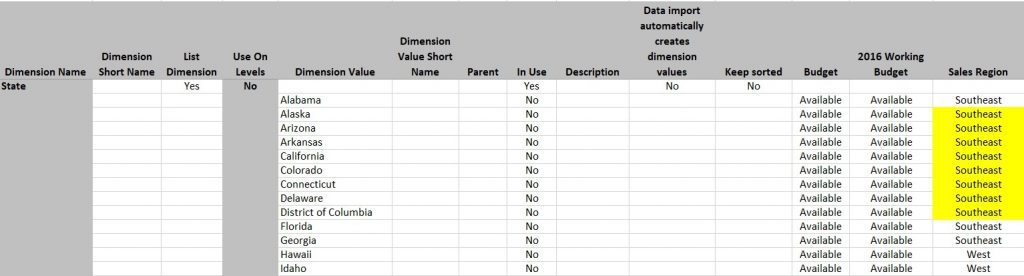
To be sure you are starting with the most recent existing structures, you should generate a printable view, which will download all Dimension structures and their associated settings and Attributes.

The printable view should look something like this. Notice the Sales Region column. It appears that someone (oops, it was me) made a mistake during the last import and accidentally copied the “Southeast” region value to multiple states in error.
You have a few options.
- Correct the attribute tags manually (yawn).
- You can simply fix it directly on the Printable View template, and re-import/update the values. (yay!)
- You can download a Dimension template and fix it there. (another yay!)
I’ll choose option 3 to illustrate how to populate the dimension import template.
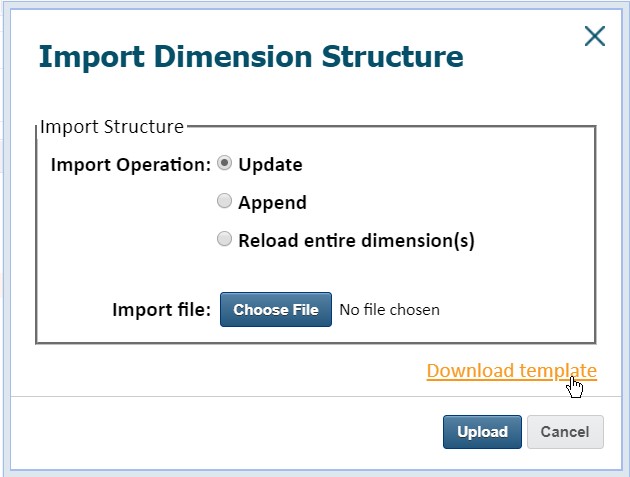
From the Dimensions screen, select IMPORT DIMENSION STRUCTURE
Download the IMPORT template
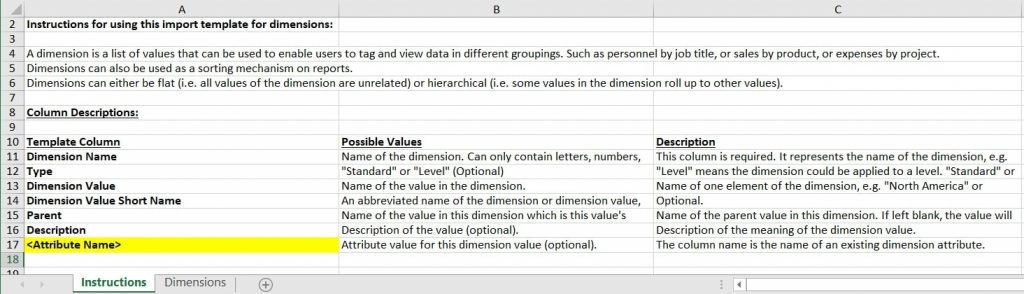
Open the template and note the INSTRUCTIONS tab for detailed instructions.
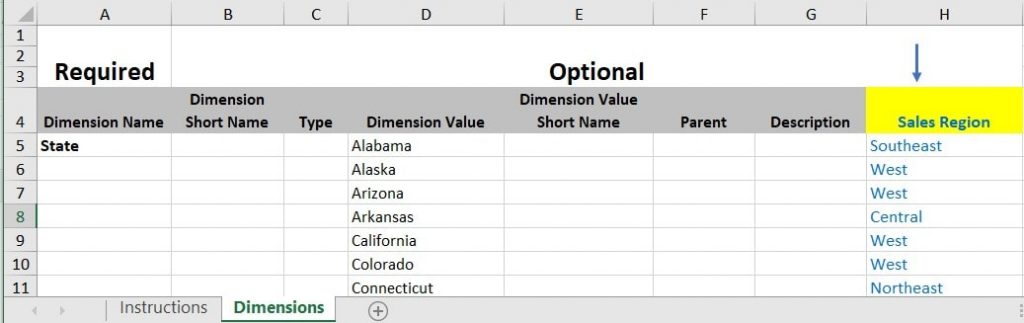
On the DIMENSIONS tab, you can maintain both Dimension values and settings, as well as Attributes. In this case, we just want to correct our attributes assignments. To do this, FIRST insert the attribute column at the end and label it as the name of the Attribute you want to maintain, “Sales Region”. NEXT, populate the template with the information obtained from the Printable View (Dimension Name, Dimension Value and Sales Region, etc.). FINALLY, correct the Attributes as necessary.
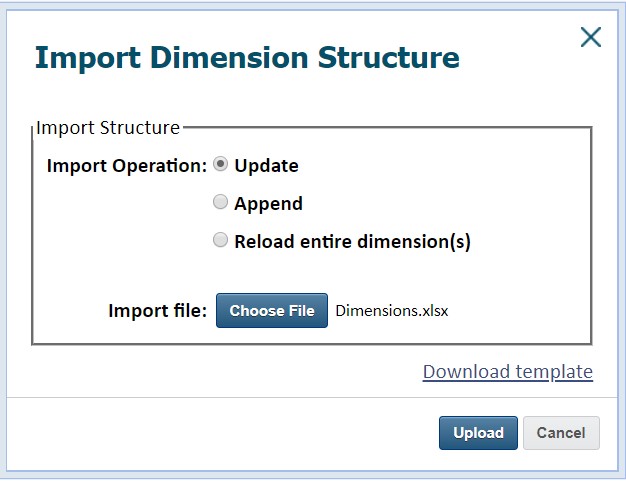
From the Dimensions screen, click IMPORT DIMENSION STRUCTURE and CHOOSE FILE to select the Dimensions.xlsx template. Be sure to select the appropriate Import operation (select UPDATE in this case since we are not adding new dimension elements). Click UPLOAD.
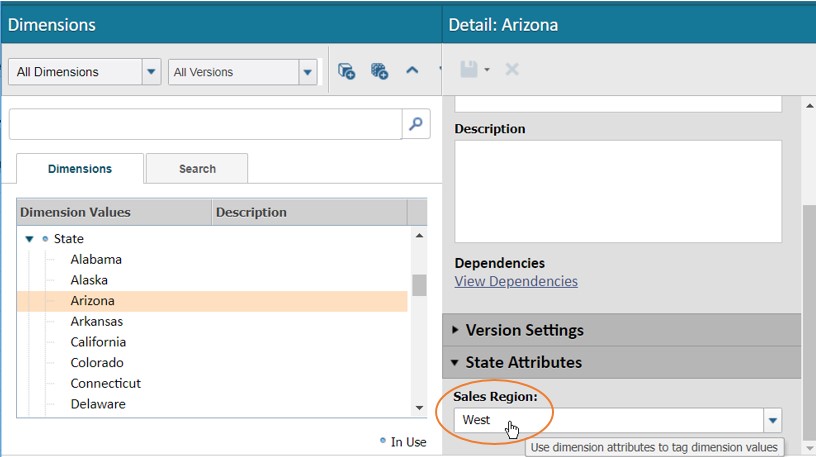
Verify that the dimension elements were TAGGED with the appropriate new or corrected ATTRIBUTE Values, either by generating another Printable View, or by going to the DIMENSIONS screen. Notice the STATE ATTRIBUTES at the bottom right of the Dimensions screen.
And, Voila! You’re done!
We hope you found this article helpful. Don’t hesitate to “Ask QueBIT” if you have additional questions or feedback.