
Business Case:
One key to an easily managed security structure and tailored data portal in IBM Cognos Analytics is to utilize groups and roles. If you are using the roles that are predefined or created in the Cognos namespace, you can customize themes, home pages, and report parameters that are unique to each function area. For example, members of the Finance team need access to the entire GL ledger and may want to see the Balance Sheet report displayed at initial sign on. On the other hand, the Operations team may need to see inventory information for their specific section and logon to an Inventory Balance report. By utilizing groups and roles, these distinct views can be managed easily.
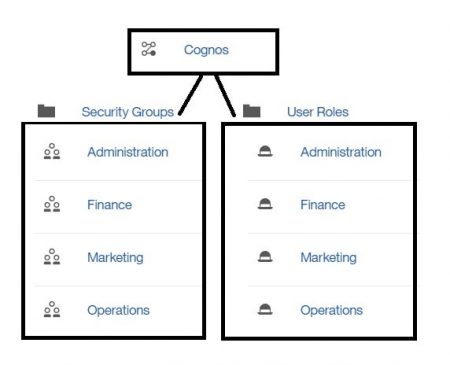
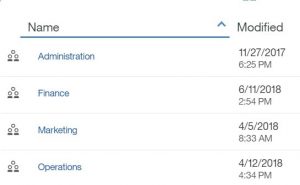
In the case below, we want to distinguish between four sets of users; Administrator, Finance, Marketing and Operations. We will need to set up the namespace folders using the structure below. Create the groups and roles, and then assign the users to a group, and the group to a role.
Understanding Security Setup:
Once the install and configuration of Cognos Analytics is completed, the administrator will need to setup security. This setup includes configuring the authentication providers to take advantage of the existing security infrastructure in your organization. Each authentication provider that is configured for use with Cognos Analytics is referred to as a namespace or external namespace.
Cognos Analytics has a built-in, internal namespace named Cognos. The Cognos namespace includes predefined objects to help you quickly set up initial security, which will simplify the process of managing access permissions and deploying content. For a complete list of these objects, you can reference the IBM Cognos Analytics Installation and Configuration Guide.
The namespace contains users, groups and roles.
- A group is a collection of users. Members of groups can be users and other groups.
- A role is a collection of capabilities that identify the tasks that a user can perform. Members of roles can be users, groups, and other roles.
- A user can belong to several groups or roles. When a user is a member of more than one group, access permissions are merged.
Procedure to set up the Custom Folders:
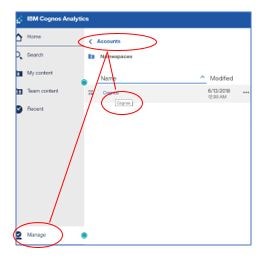
- Click Manage > Accounts and click the Cognos namespace to open it.
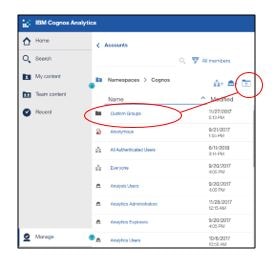
- Create a “Custom Groups” folder to hold our custom groups and roles for easy access. Begin by clicking the new folder icon and name the folder “Custom Groups”.
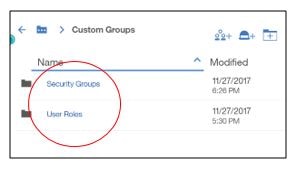
- Repeat the same step as #3, and create a folder within “Custom Groups” called “Security Groups” and “User Roles”.
Procedure to create groups and roles:
- Open the “Security Groups” folder and click the new group icon, and type the unique name for the group in the space provided, and press the enter key. Do this step four times, once for each new group. The groups are added to the list of entries in the Cognos namespace.
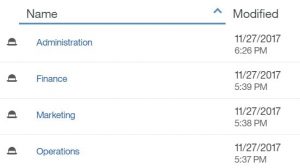
- Now that the groups have been created, you will want to create the corresponding roles. Open the “User Roles” folder and click the new role icon, and type the unique name for the role in the space provided, and press the enter key. Do this step four times, once for each new role. The roles are added to the list of entries in the Cognos namespace.
Procedure to add a new user:
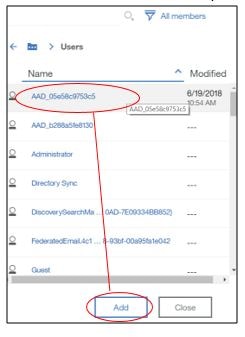
- You now want to add users to the new user groups created. In this example, we will add the user AAD_05e58c9753c5 to the user group Finance.
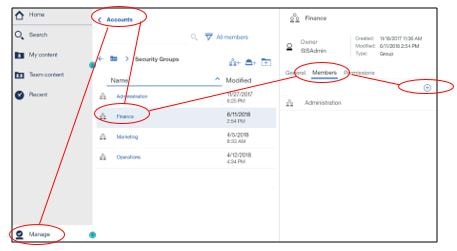
- Click on manage, accounts. Go to the user group “Finance” which was created in the steps above (Custom Groups, Security Groups, Finance) and click on the members tab. Click on the icon to add a new member.
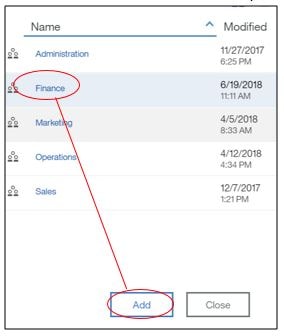
- Click the Cognos namespace to open it and find the member name you want to add. Click on the user, and then press Add
- You will then see the message, member added.
- You can now add the user group to the role. In the example below, we are adding the Finance user group to the Finance role.
- Click on manage, accounts. Go to the user role “Finance” which was created in the steps above (Custom Groups, User Roles, Finance) and click on the members tab. Click on the icon to add a new member.
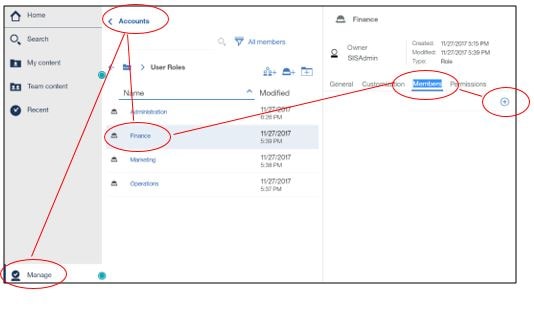
- Click the Cognos namespace to open it and find the role you created under custom roles. Click on the role, and then press Add
- You will then see the message, member added.
