
Anaplan Connect is an API (application programming interface) client that functions using a command-line interface. Through this interface, and the writing of batch and or shell scripts, an Anaplan administrator may automate the running of various actions from Anaplan. Typically, when using Anaplan’s API or Anaplan Connect, users leverage a predefined import, export, or some other kind of action type to make use of the available customization, automation, and scheduling capabilities inherent to API and scripting tools. However, Anaplan Connect also allows users to perform exports directly from saved views in Anaplan.
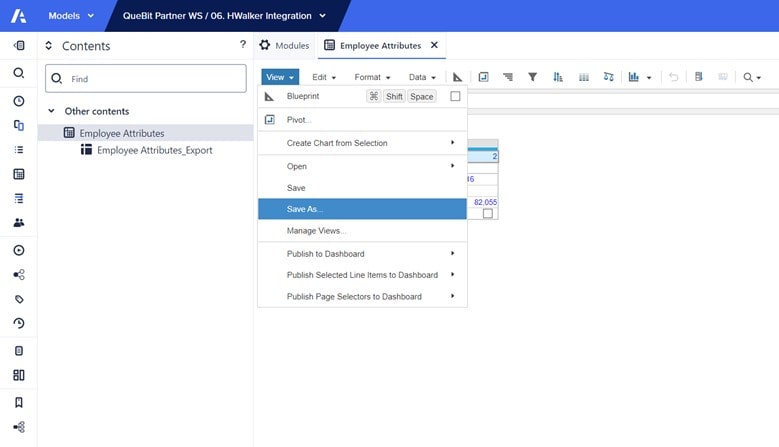
To achieve this, one would first need to create a saved view. Pivot and filter your module to your needs, click on the ‘View’ drop down, and then click on ‘Save As…’
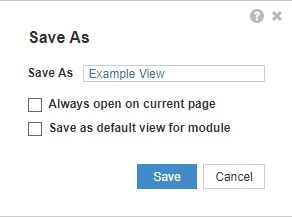
Title your view and enable the selectors as you see fit.
Your saved view is now ready to export via Anaplan Connect. For this example, I will cover only a batch script to perform the export. You will need your Anaplan user email and password, the Anaplan service URL, Anaplan authentication URL, your respective workspace and model IDs, a chosen file path to export to, and your respective module and saved view names.
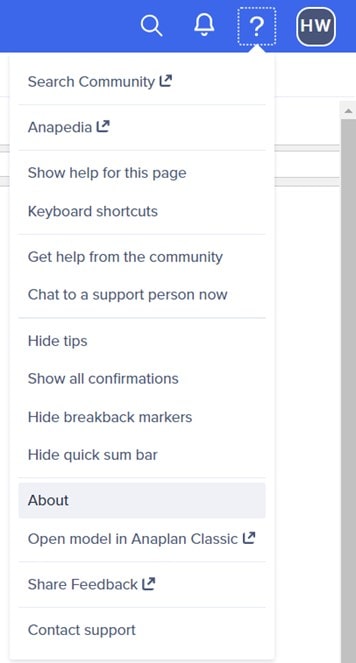
Workspace and model IDs may be found within the Anaplan GUI, under the question mark, and in the ‘About’ tab:
See the below script for a full example:
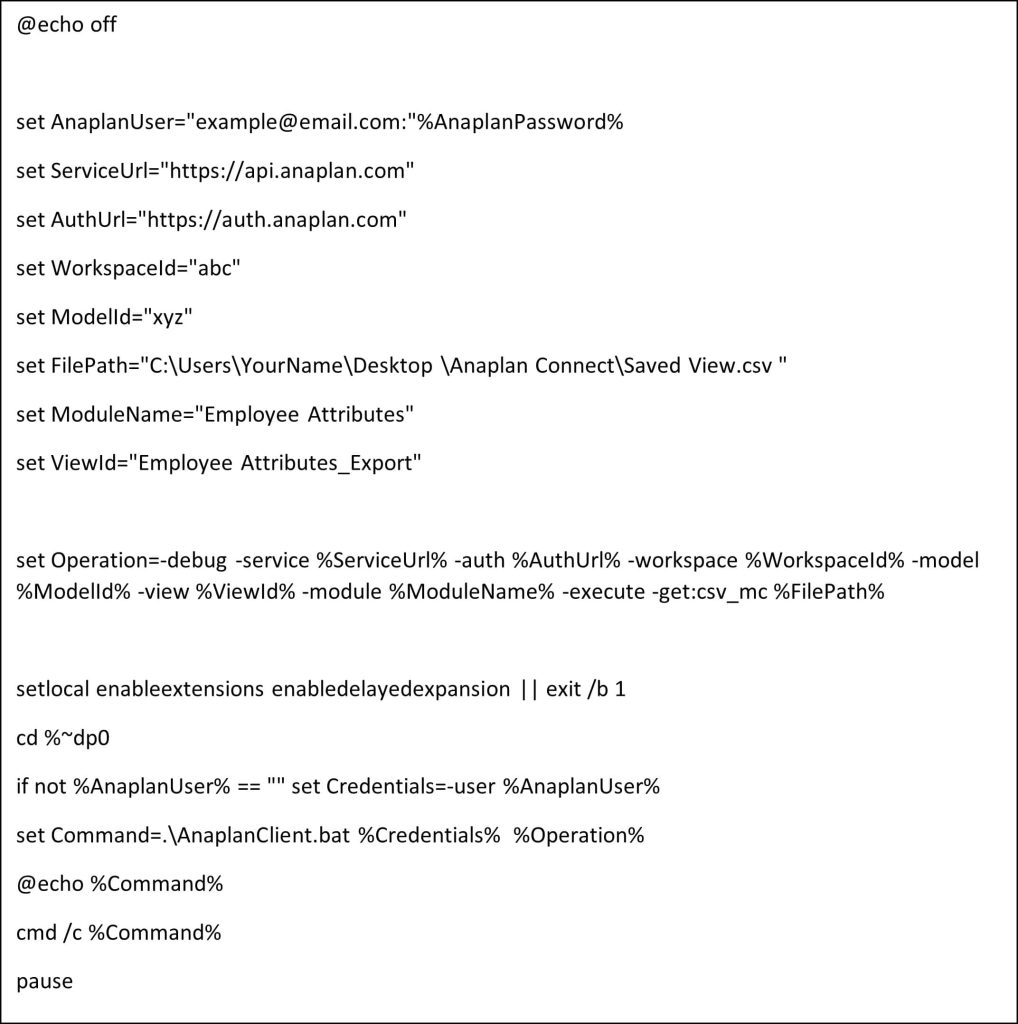
Security Consideration: Note that leaving the ‘AnaplanPassword’ variable outside of the quotes, as is formatted in the above text box, will require you to enter your password upon running the script. If you are setting the script to run via a set schedule, you may prefer to hard code your password. This is a less secure option, but it will allow the script to run without interruption. Otherwise, Anaplan Connect offers Certificate Authority (CA) authentication. It is wise to use a Java KeyStore to protect your private key and certificate with a KeyStore password. See the Anaplan Connect documentation for further instructions on starting with CA authentication and batch and or shell script adaptations.
Setting the file path is required to achieve an output. On Windows, you may hold shift, right click, and select ‘Copy as Path’ to acquire a file path to a given location. This path may then be pasted into the quotes following the ‘FilePath’ variable.
Your operation line will need to include the ‘-execute -get:csv_mc’ to perform the direct export from a saved view function.
Once your script is completed, save it, navigate to the saved script, and double click on it to run. Otherwise, you may use the command line to navigate to the scripts location and enter the .bat file’s name to run it.